AMP: 1
Location: Maple St and Mohawk Trl, Shelburne Falls, Shelburne
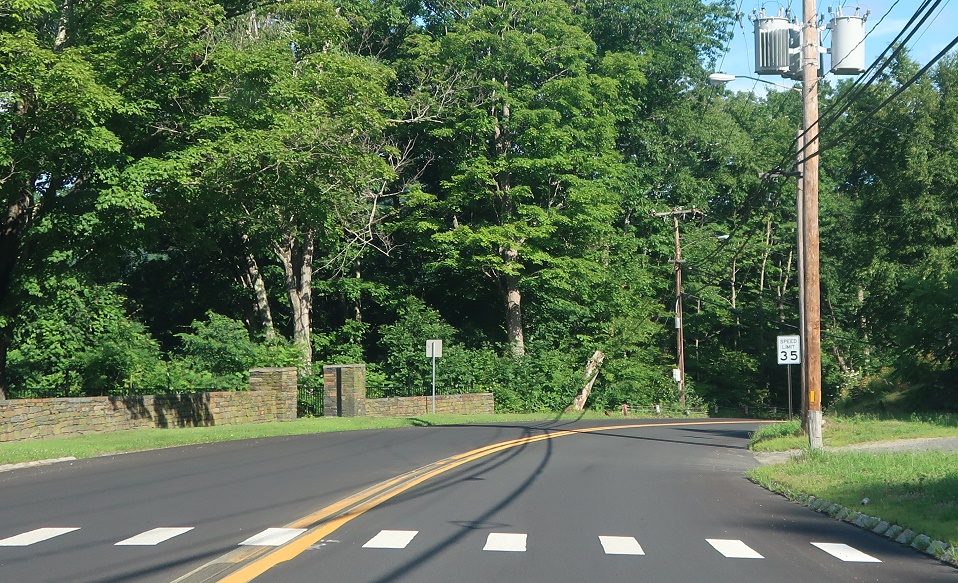
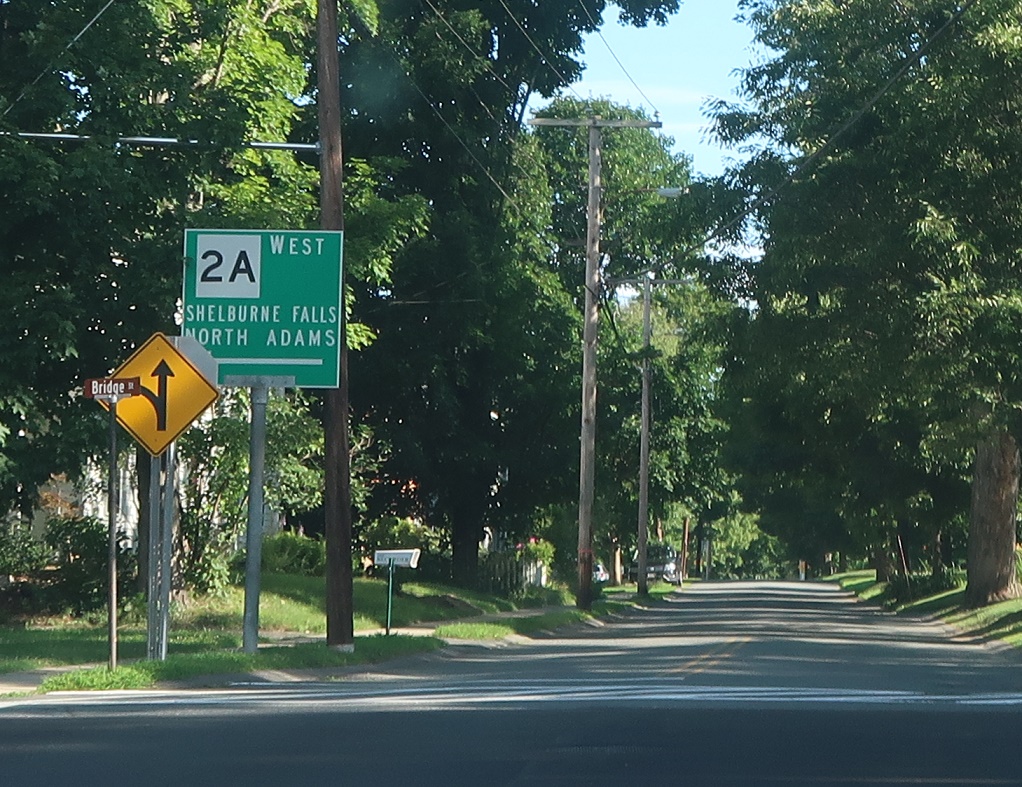
No reassurance shield as 2A’s final segment begins.
AMP: 1
Location: Maple St and Bridge St, Shelburne Falls, Shelburne
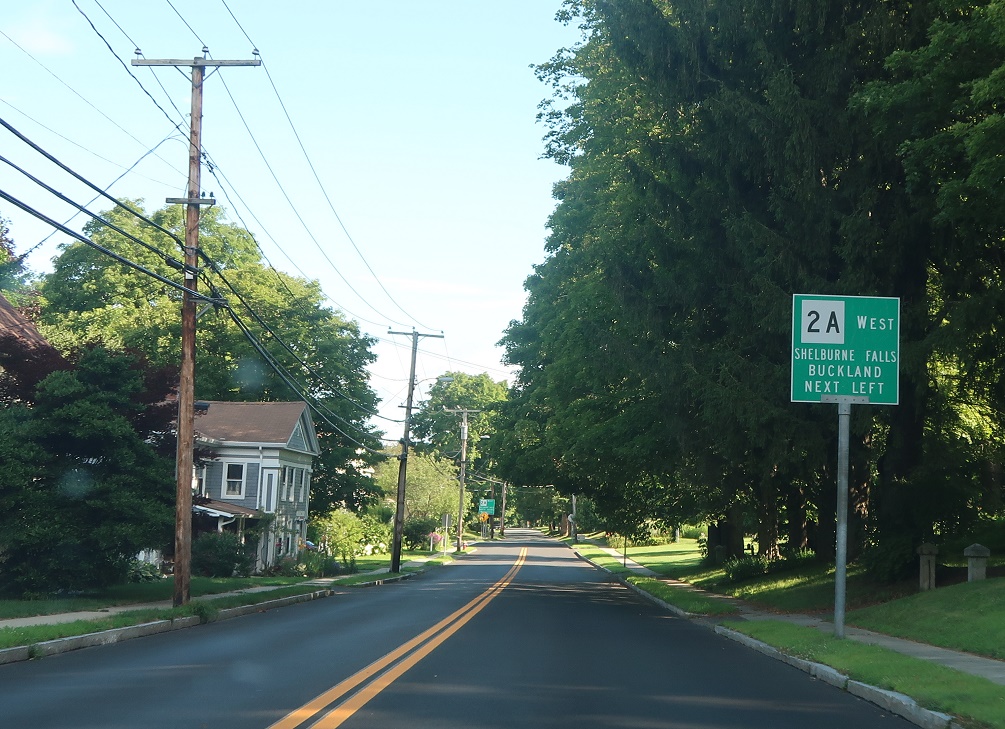
A couple blocks later, we’ll turn left to head west into downtown.
AMP: 1
Location: Maple St and Bridge St, Shelburne Falls, Shelburne
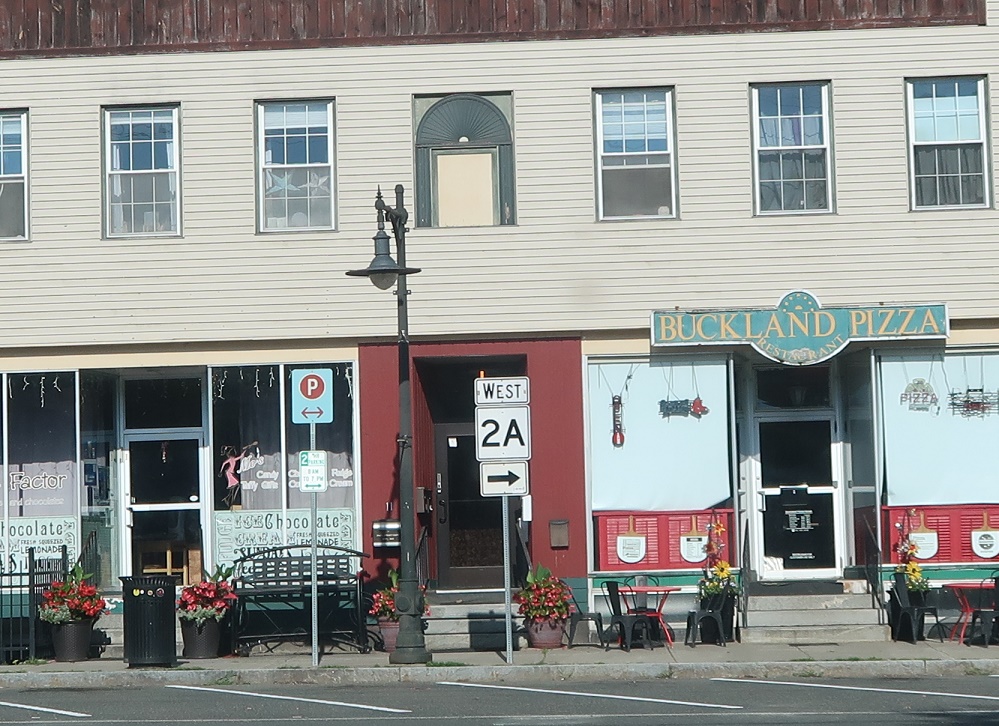
Turn left to stay on 2A west.
AMP: 1
Location: Bridge St and Mechanic St, Shelburne Falls, Shelburne
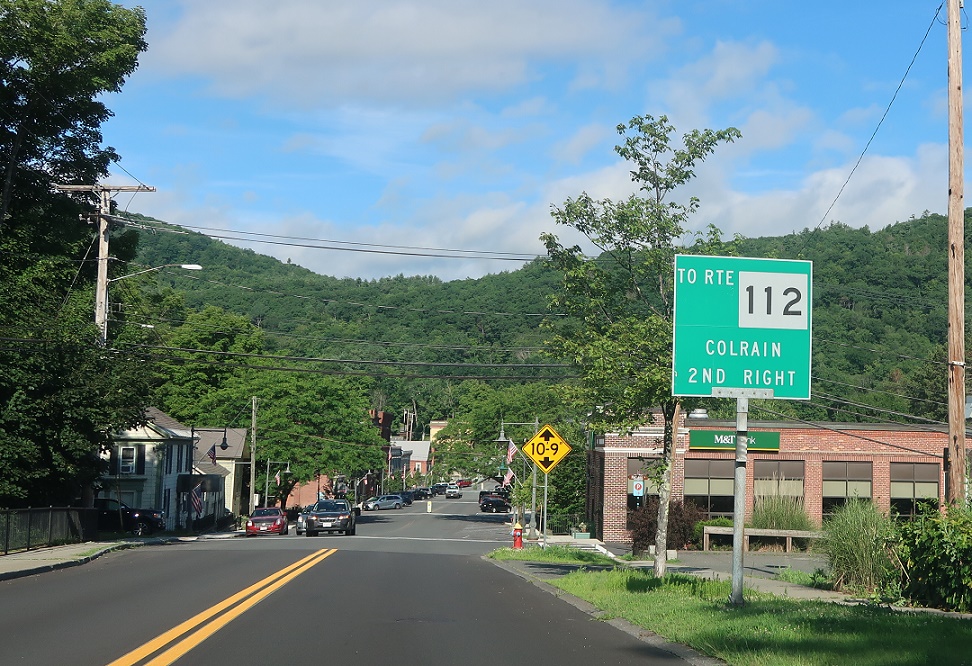
At the second right (Main Street), you can use that to connect directly to Route 112 north.
AMP: 0
Location: Bridge St and Main St, Shelburne Falls, Shelburne
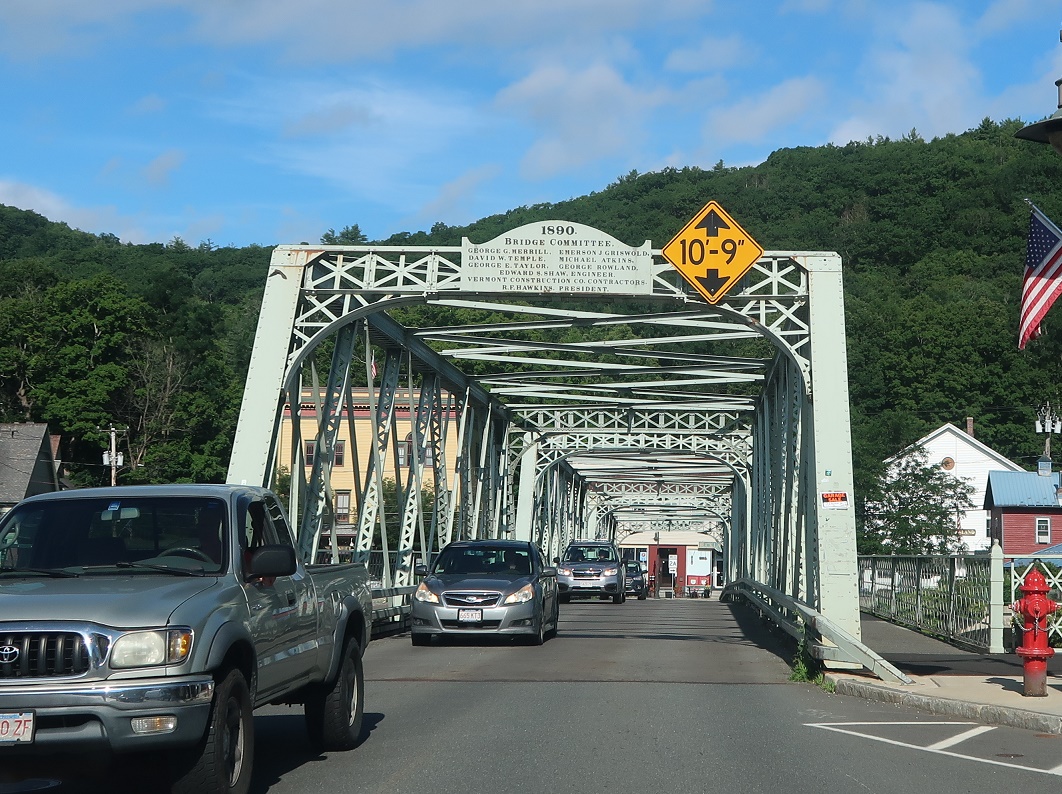
Just after that, we’ll cross over to the west side of the Deerfield River.
AMP: 0
Location: Bridge St and State St, Shelburne Falls, Shelburne
After crossing the bridge, turn right to head north back to Route 2.
AMP: 0
Location: State St and North St, Shelburne Falls, Shelburne
No reassurance shield after the turn.
AMP: 0
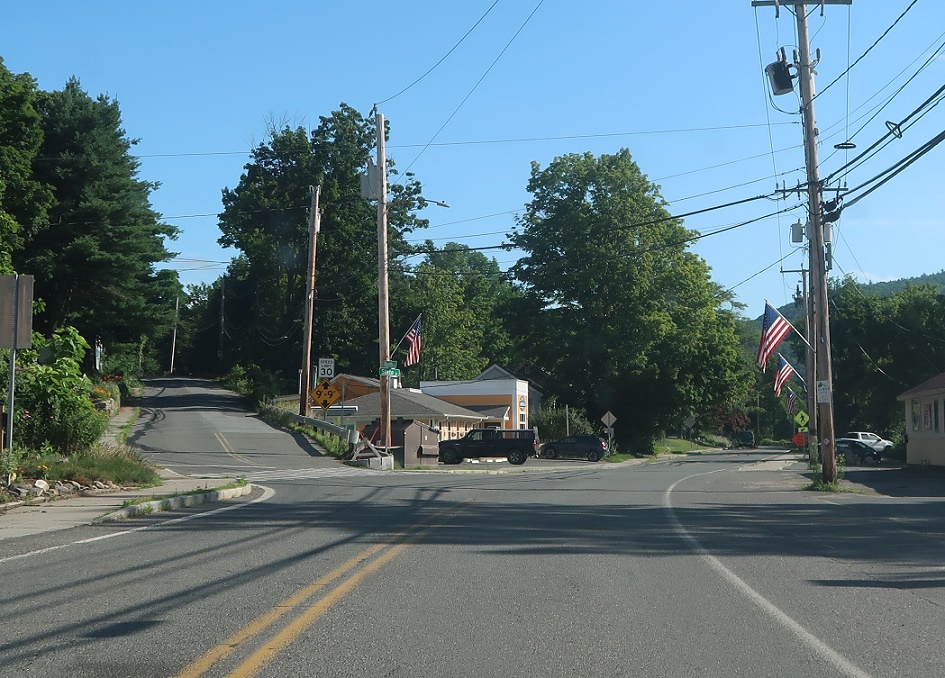
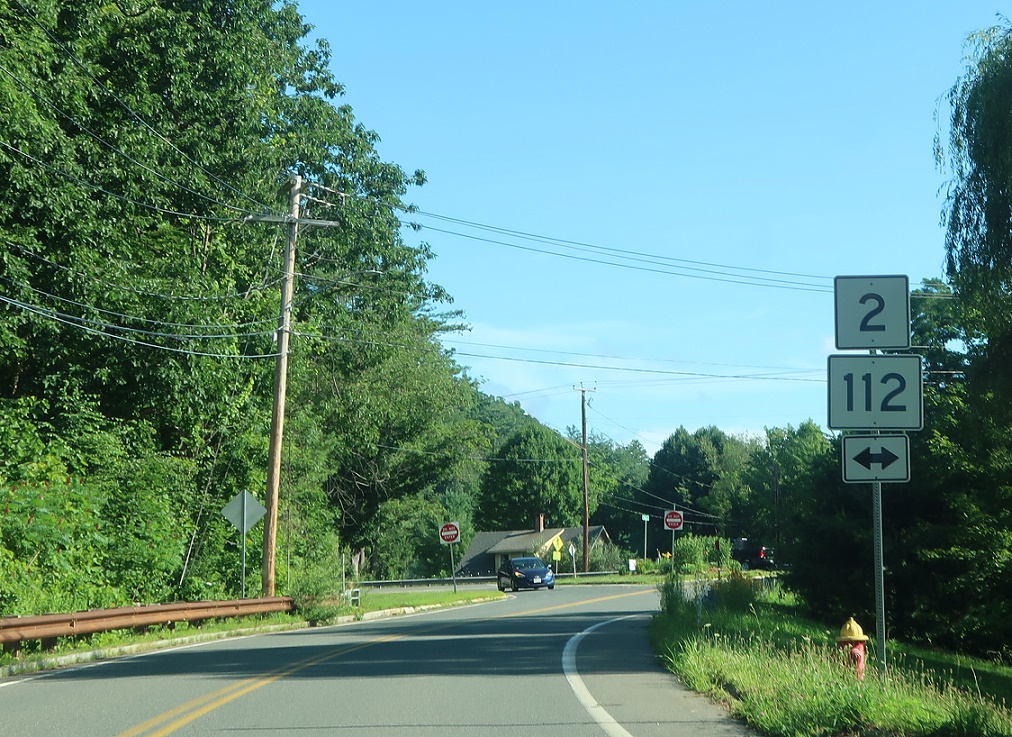
Location: State St and Mohawk Trl, Shelburne Falls, Shelburne
Soon thereafter, we’ll approach Routes 2 and 112. Turn right for 2 east/112 north and left for 2 west/112 south. Route 2A comes to an end here, and Route 2 will continue west without its trusty “A” route.