AMP: 63
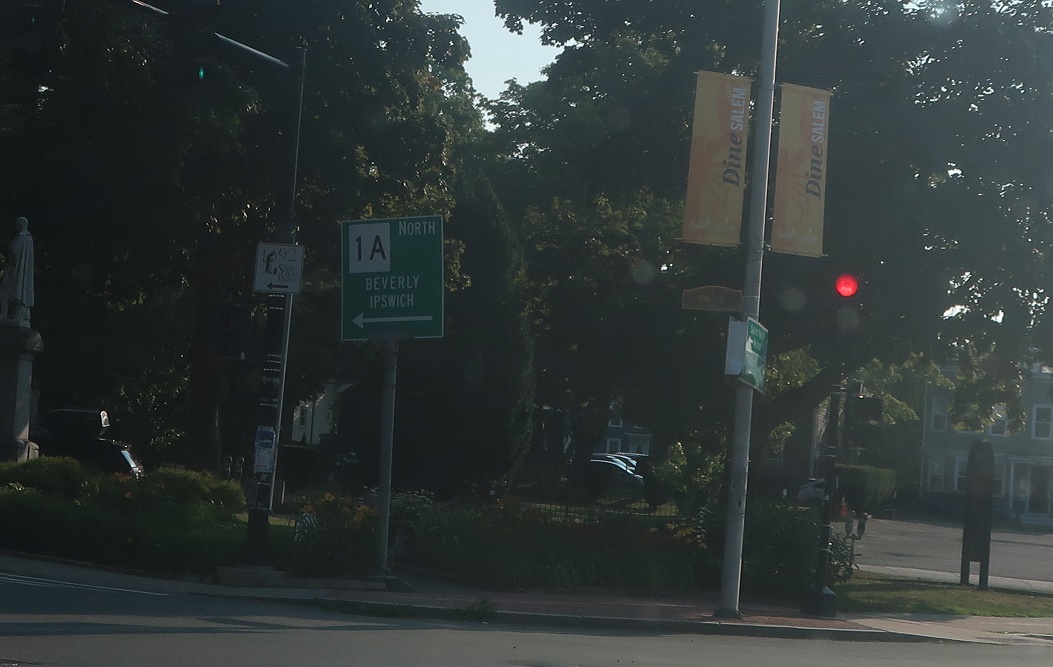
Location: Lafayette St and New Derby St, Salem
If you missed the first turn to 114, not to worry, because there’s a second connection just a couple blocks later. Turn right to stay on 1A north.

AMP: 63
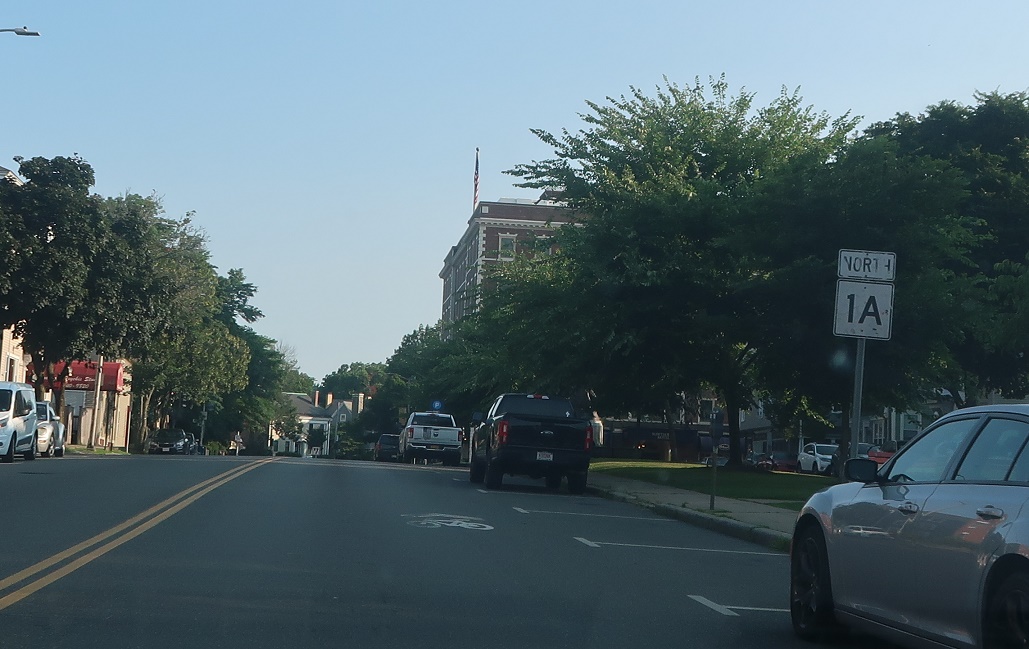
Location: Lafayette St and Derby St, Salem
Turn right for 1A north onto Derby Street.
AMP: 63
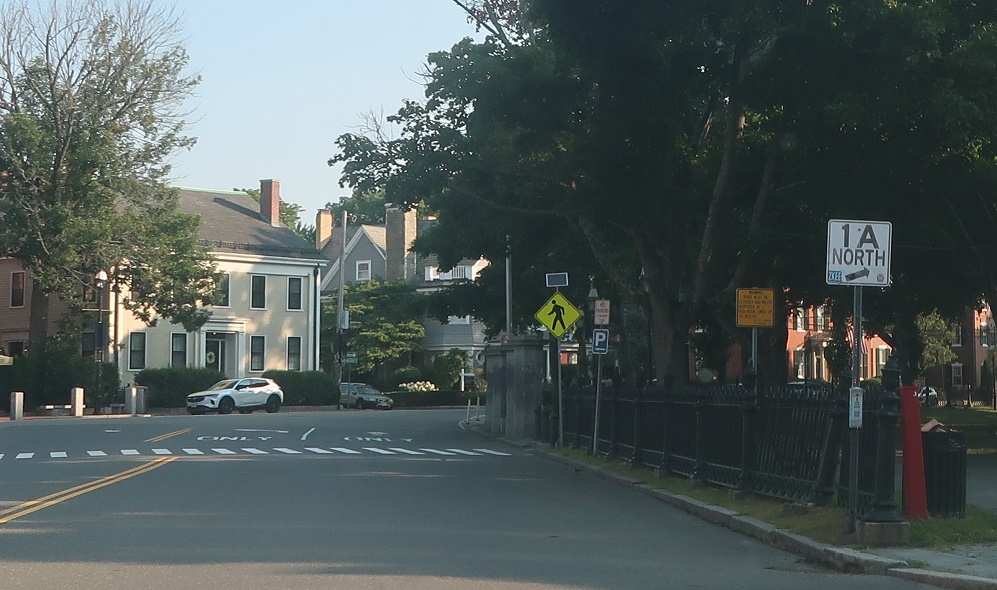
Location: Derby St and Hawthorne Blvd, Salem
A couple blocks later, we’ll approach Hawthorne Blvd and turn left.
AMP: 63
Location: Hawthorne Blvd and Derby St, Salem
Reassurance shield after the turn.
AMP: 63
Location: Hawthorne St and Washington Sq, Salem
Cool local 1A sign advising us to bear right around Salem Common.
AMP: 64
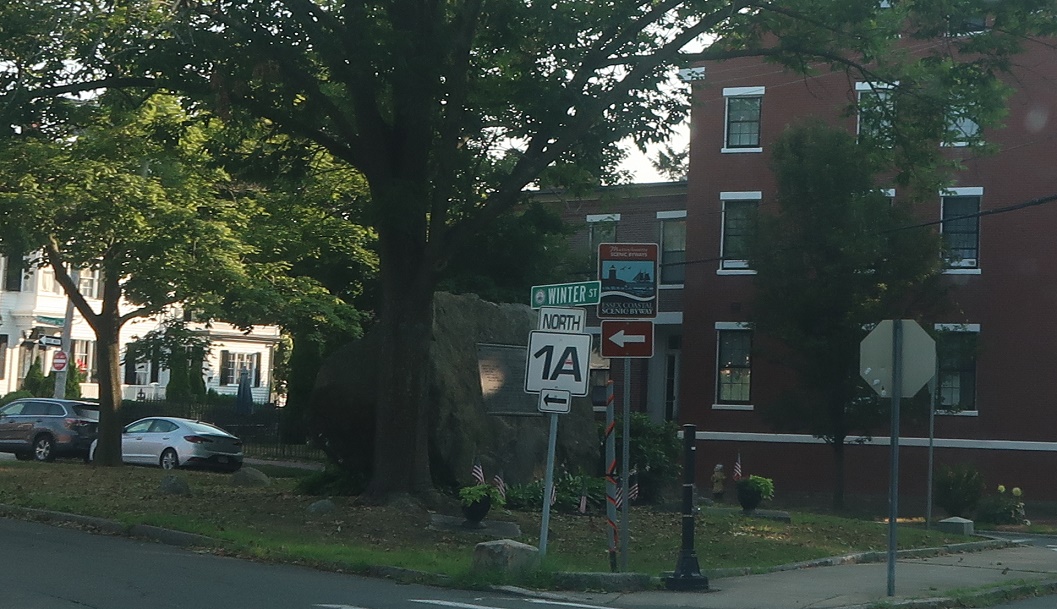
Location: Washington Sq and Winter St, Salem
Less cool local sign as we turn left onto Winter Street.
AMP: 64
Location: Winter St and Washington Sq, Salem
Boring MassDOT shield after the turn.
AMP: 64
Location: Winter St and Bridge St, Salem
A couple blocks later, turn right to stay on 1A north. Turn left to connect to Route 107 via Bridge Street.
AMP: 64
Location: Bridge St and Winter St, Salem
No reassurance shield after the turn.

AMP: 64
Location: Bridge St and Webb St, Salem
Though there is one a few blocks later.
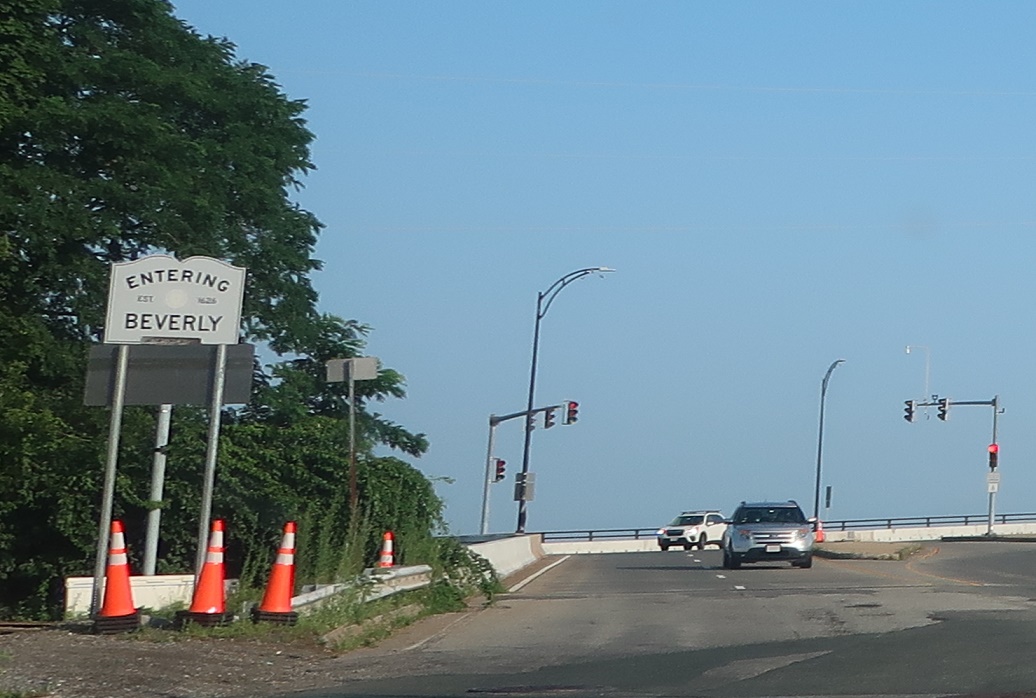
AMP: 64
Location: Bridge St and Essex Brg, Beverly
Several blocks later, we’ll head up to the Essex Bridge and enter Beverly just before crossing it (which is actually where the city limit line is).
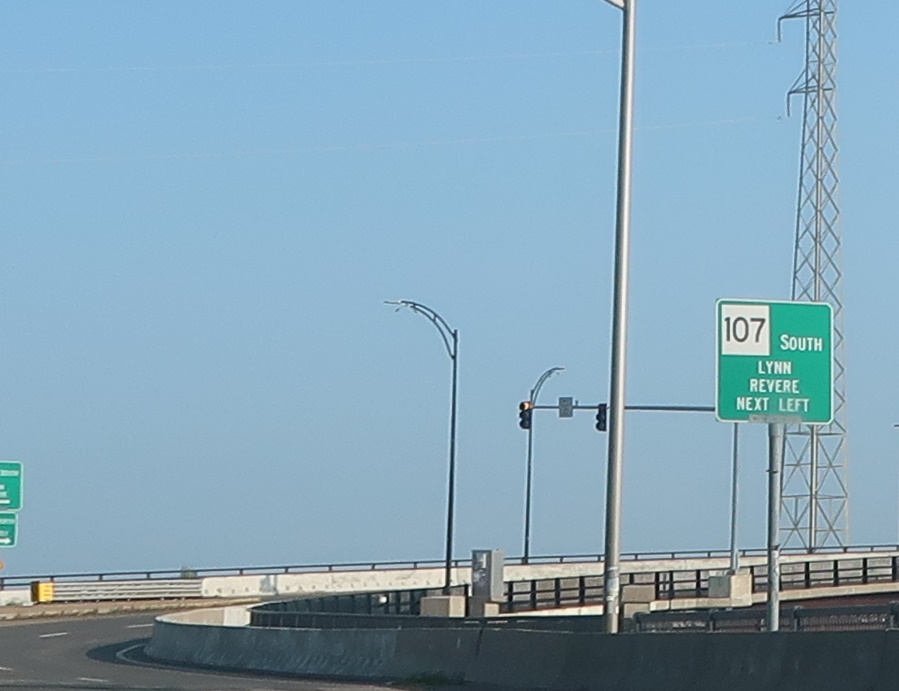
AMP: 64
Location: Bridge St and Essex Brg, Beverly
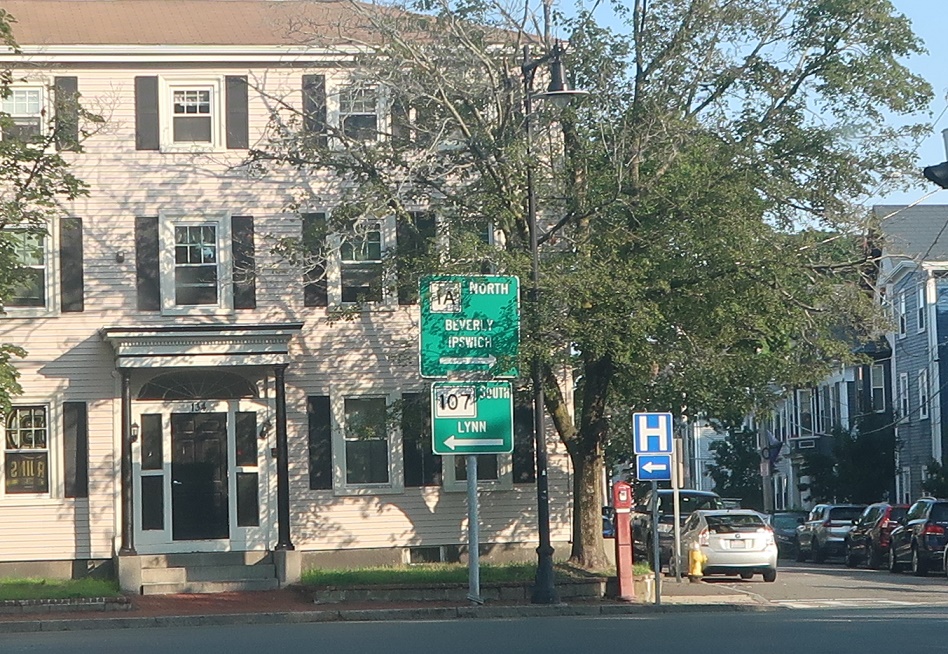
Turn left for Route 107 south.
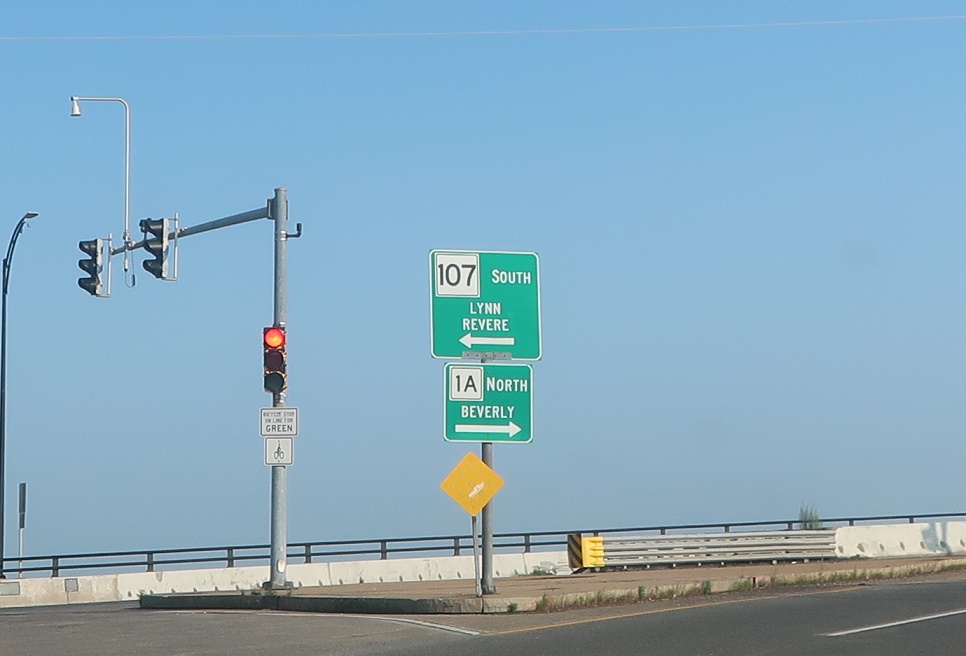
AMP: 64
Location: Bridge St and Essex Brg, Beverly
Turn right for Route 1A north to Beverly.
 N to MA 22/MA 127, S to MA 114