
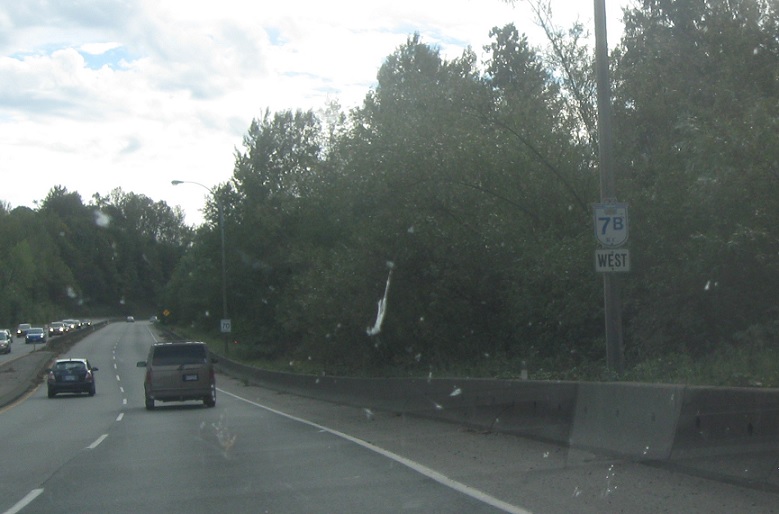
Location: Mary Hill Byp and Lougheed Hwy, Port Coquitlam
As BC 7B begins we’re advised to follow it to Route 1.
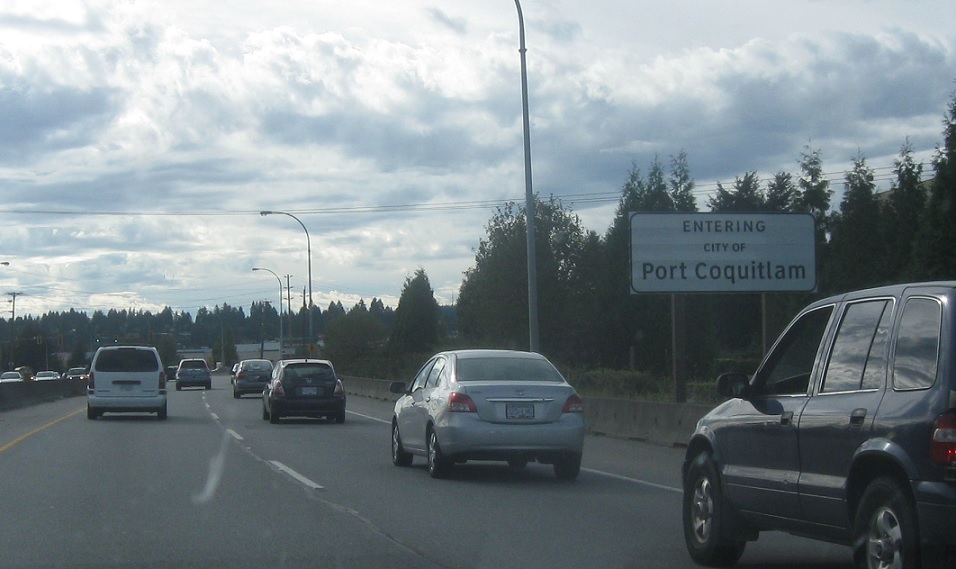
Location: Mary Hill Byp and Kingsway Ave, Port Coquitlam
Welcome to Port Coquitlam!
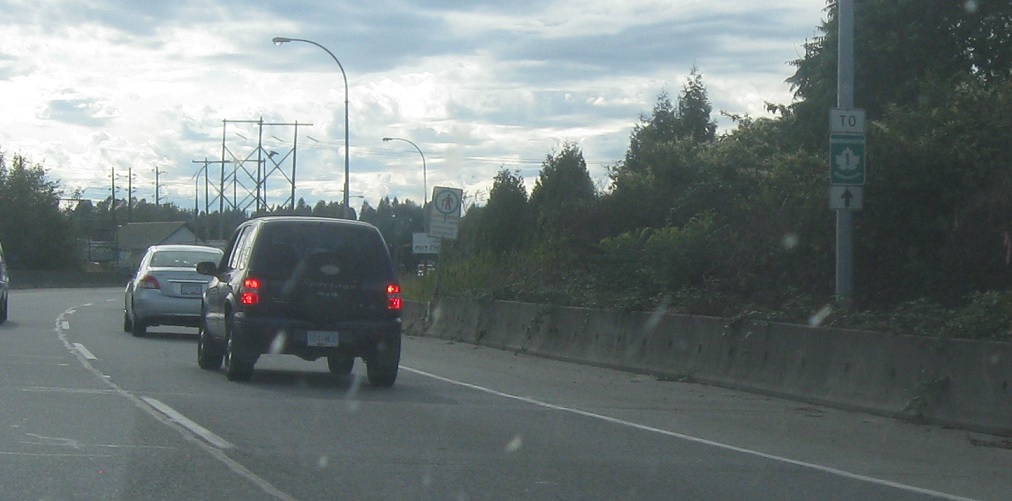
Location: Mary Hill Byp and Kingsway Ave, Port Coquitlam
Reassurance shield after Kingsway Ave.
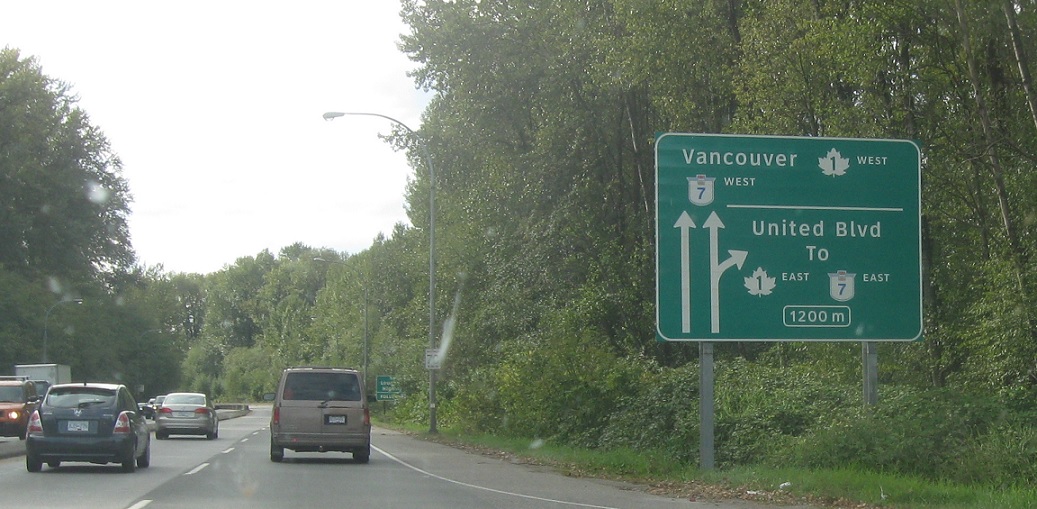
Location: Mary Hill Byp and Shaughnessy St, Port Coquitlam
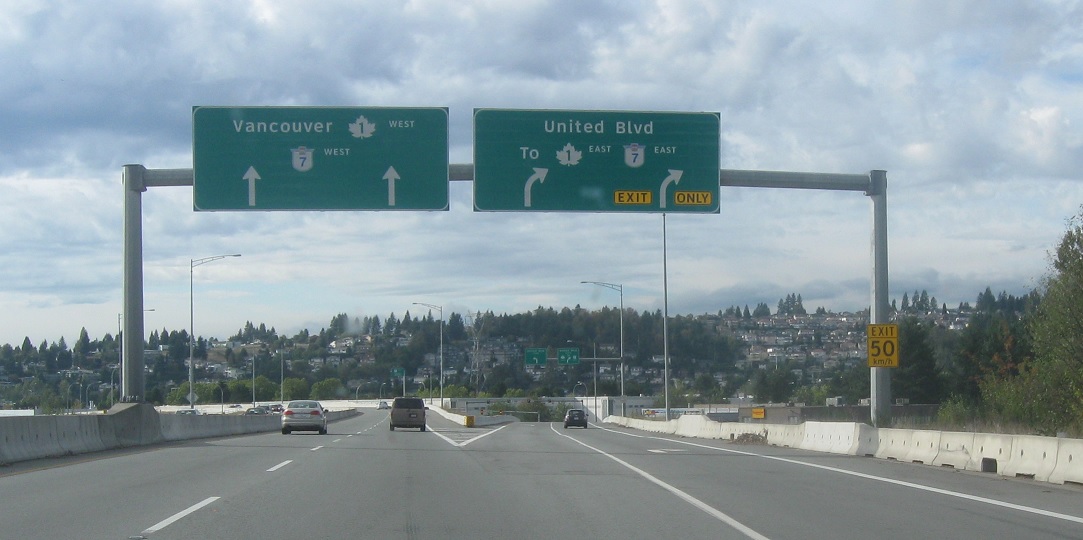
In 1200 meters we’ll approach United Blvd, which provides access to 1 and 7 east. There’s only direct access to 1 and 7 west from 7B west.
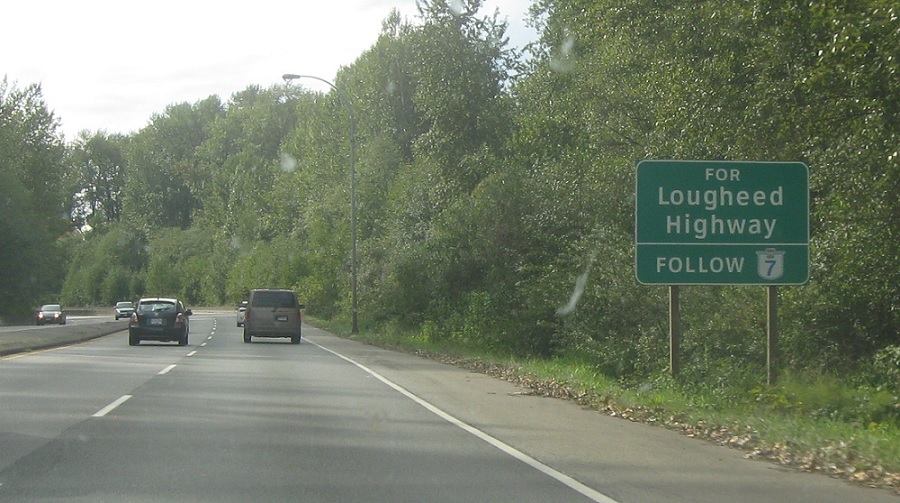
Location: Mary Hill Byp and Shaughnessy Blvd, Port Coquitlam
Take BC 7 for the Lougheed Highway.
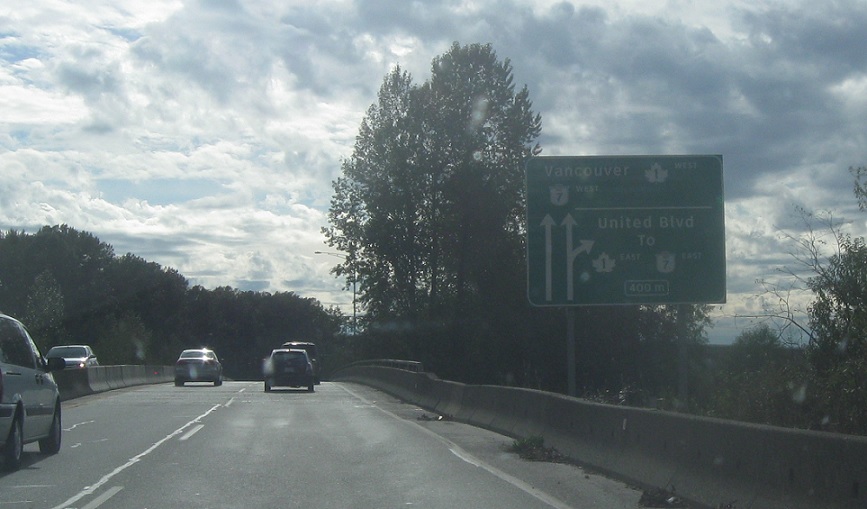
Location: Mary Hill Byp and United Blvd, Coquitlam
400 meters to the United Blvd exit.

Location: Mary Hill Byp and United Blvd, Coquitlam
Follow United Blvd to the eastbound highways.
Location: Mary Hill Byp and United Blvd, Coquitlam
Exit for United Blvd to 1/7 east.
Location: Mary Hill Byp and United Blvd, Coquitlam
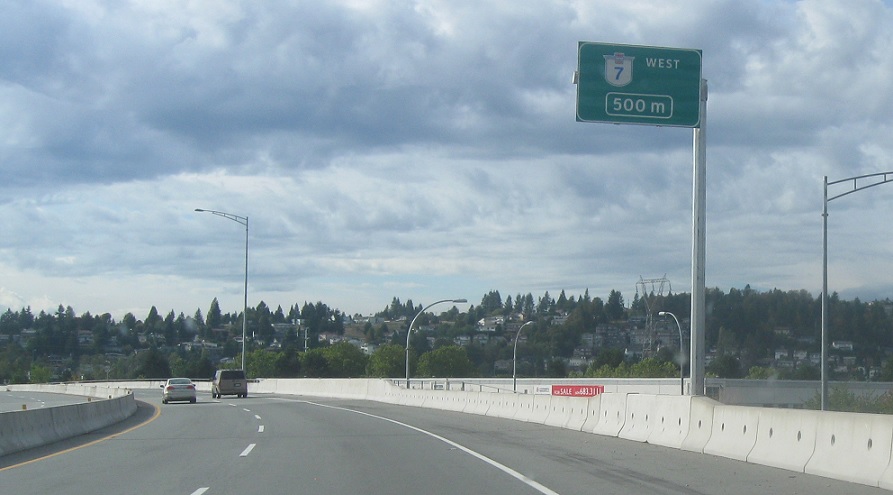
500 meters until BC 7B approaches BC 7 west.
Location: Mary Hill Byp and Lougheed Hwy, Coquitlam
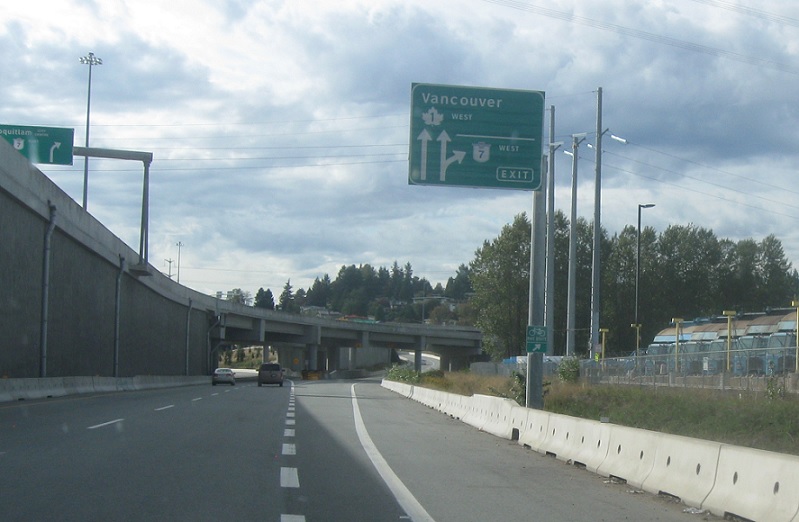
Exit for BC 7 west. Stay straight to merge onto 1 west.
Location: Mary Hill Byp and Lougheed Hwy, Coquitlam
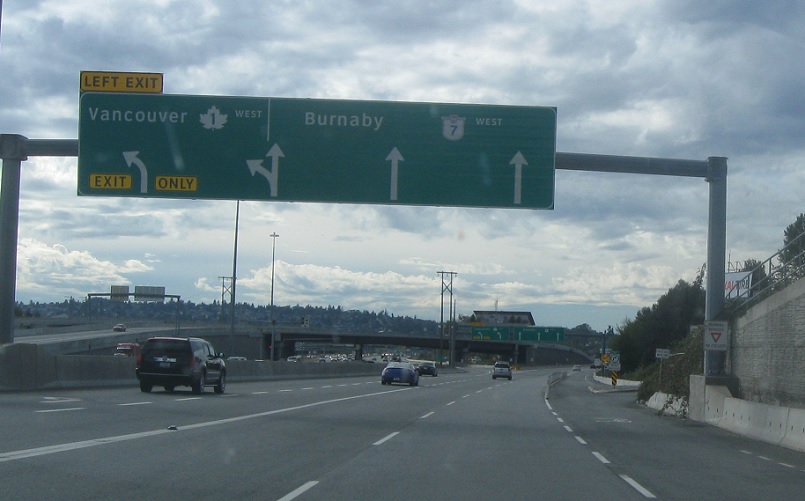
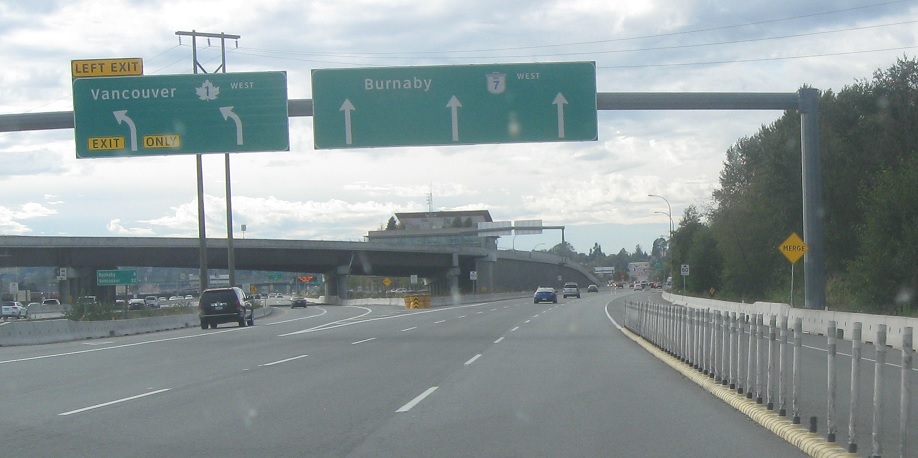
Exit left ahead for BC 1 west.
Location: Mary Hill Byp and Lougheed Hwy, Coquitlam
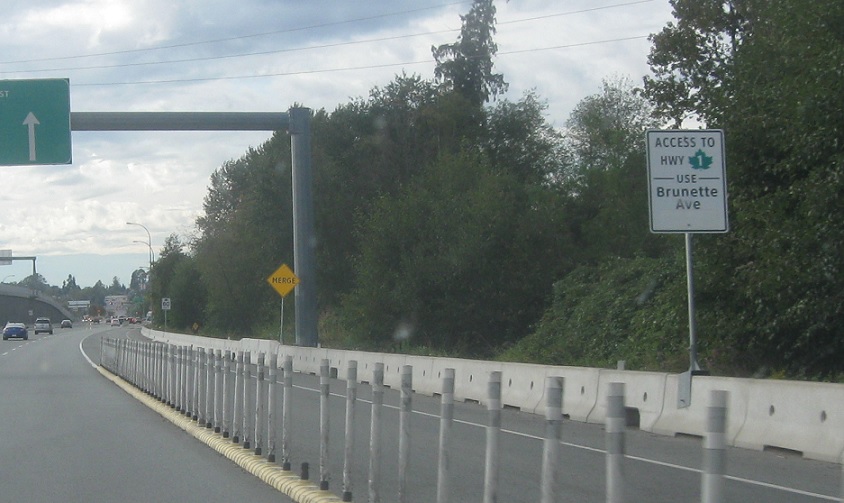
Traffic merging on from Cape Horn Ave must use Brunette Ave to get to BC 1.
Location: Lougheed Hwy and Trans-Canada Hwy, Coquitlam
Exit left for BC 1 west. Stay straight for BC 7 west. BC 7B ends.

 W to BC-99, E to BC-7B
