
Last Photographed September 2011
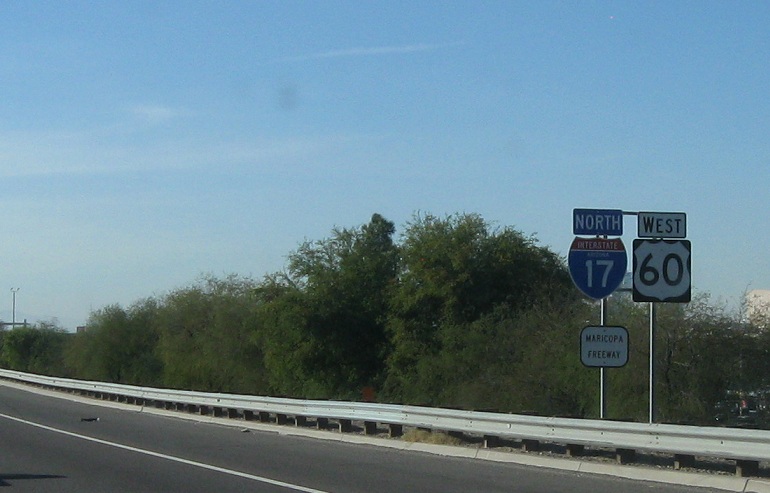
AMP: 193
Location: Maricopa Fwy and Papago Fwy, Phoenix
Reassurance shield at the beginning of I-17, acknowledging both US-60 and the Maricopa Freeway

AMP: 194
Location: Maricopa Fwy and Papago Fwy, Phoenix
Reassurance shield after I-10 East traffic merges on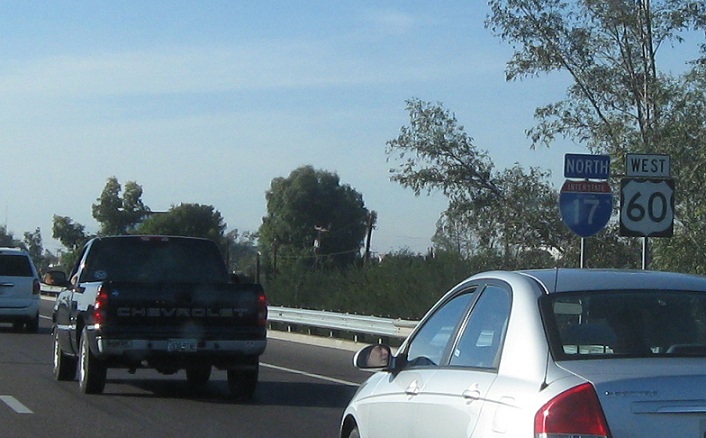
AMP: 194
Location: Maricopa Fwy and 16th St, Phoenix
Reassurance shield after the 16th Street onramps. There was no access from the freeway to 16th St, only from 16th St to the freeway
AMP: 196
Location: Maricopa Fwy and 7th St, Phoenix
Reassurance shield after the 7th Street interchange
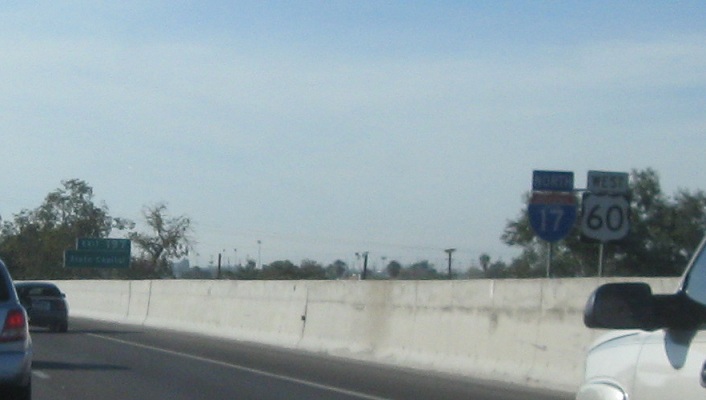
AMP: 197
Location: Maricopa Fwy and 7th Ave, Phoenix
Reassurance shield after the 7th Avenue interchange, which is different from the 7th St interchange
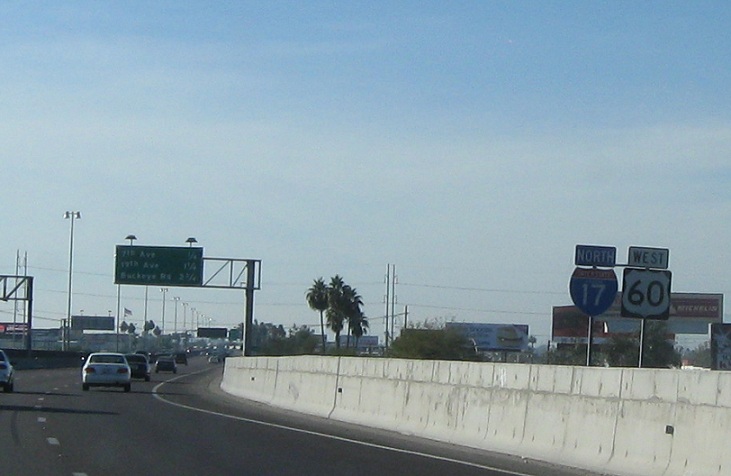
AMP: 198
Location: Maricopa Fwy and 19th Ave, Phoenix
Reassurance shield after 19th Avenue as the Maricopa Freeway is about to end and the Black Canyon Freeway is about to begin as I-17/US-60 turn due north
(Historic Photo: December 2010)
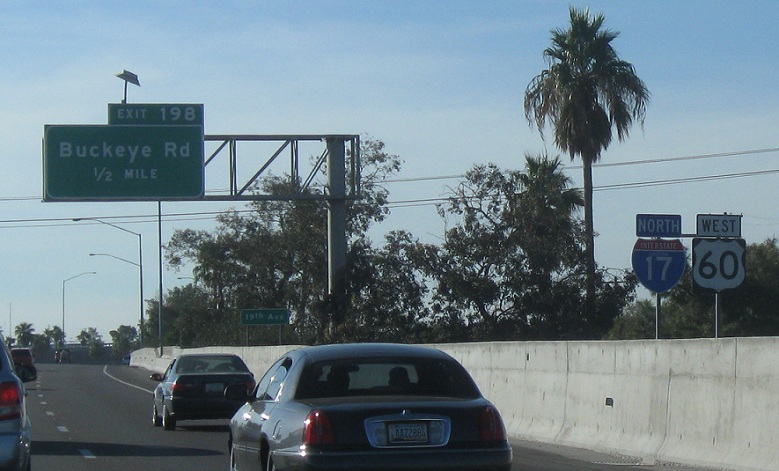
AMP: 198
Location: Black Canyon Freeway and Buckeye Rd, Phoenix
As the Black Canyon Freeway begins and we pass Buckeye Rd, we’ll get 1.5 mile notification for I-10

(Historic Photo: December 2010)
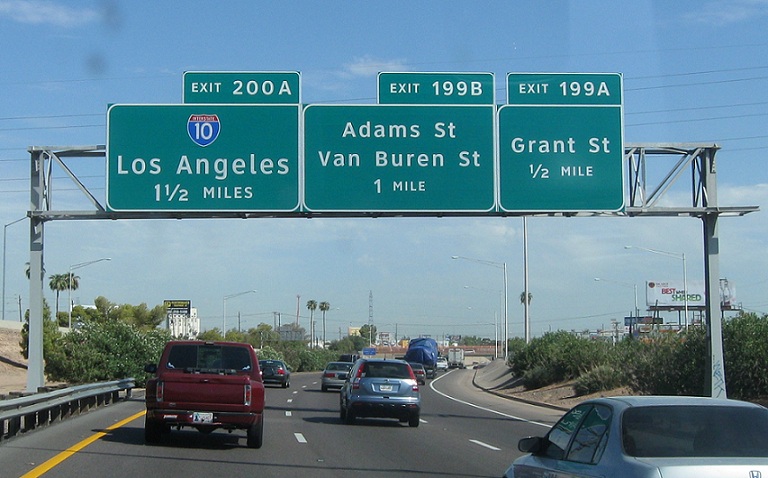
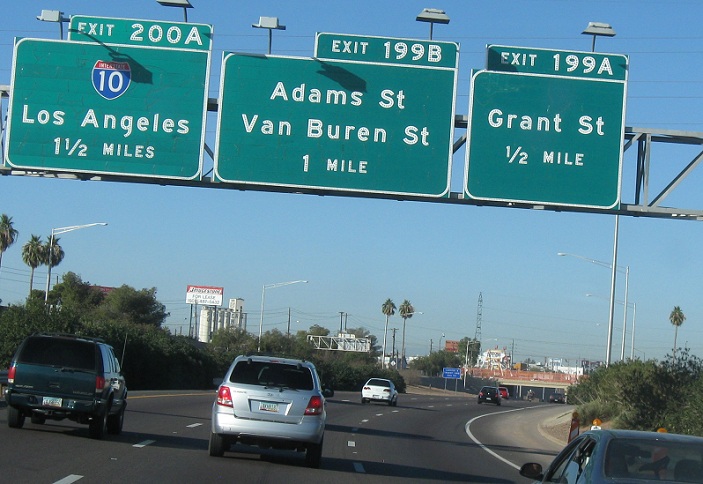
AMP: 199
Location: Black Canyon Fwy and Grant St, Phoenix
After Grant Street, we’re 1 mile from the 10
(Historic Photo: December 2010)
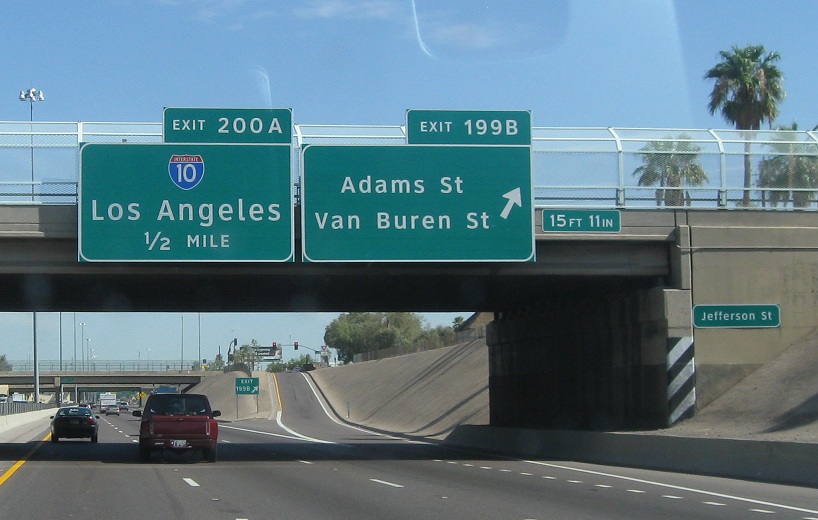
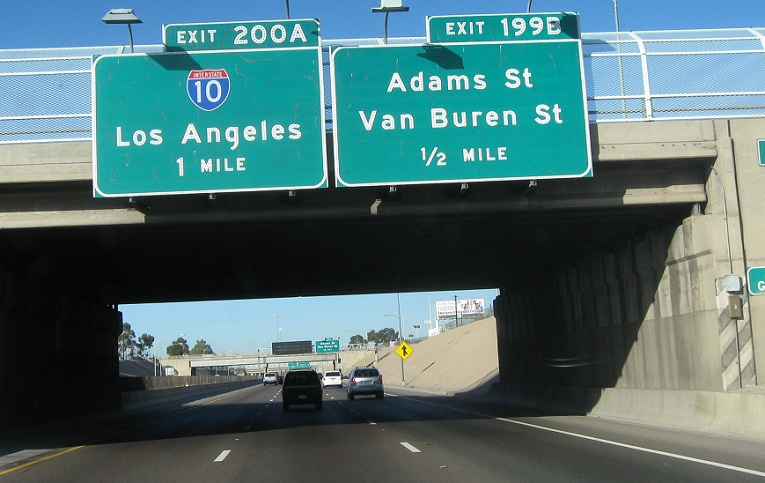
AMP: 199
Location: Black Canyon Fwy and Adams St, Phoenix
1/2 mile to I-10

(Historic Photo: December 2010)
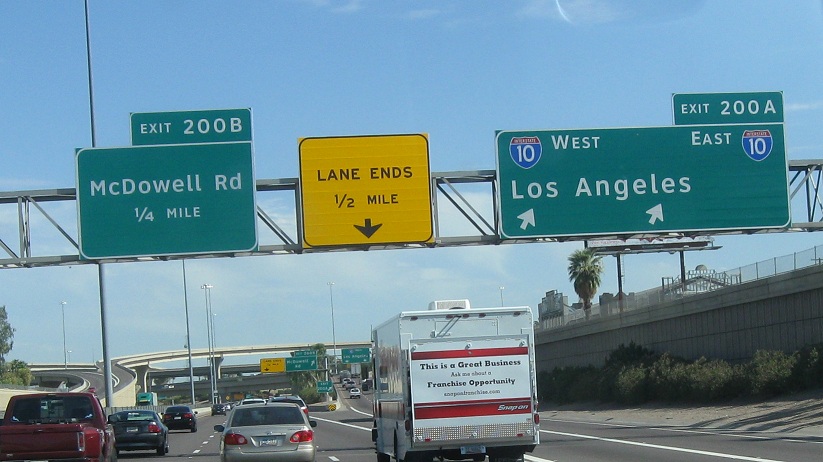
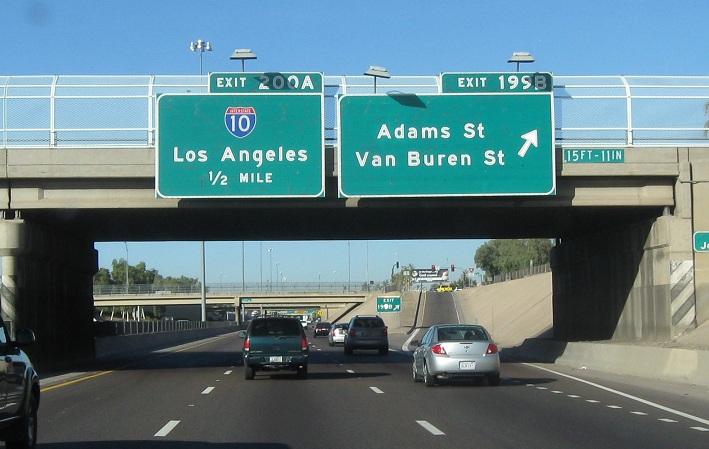
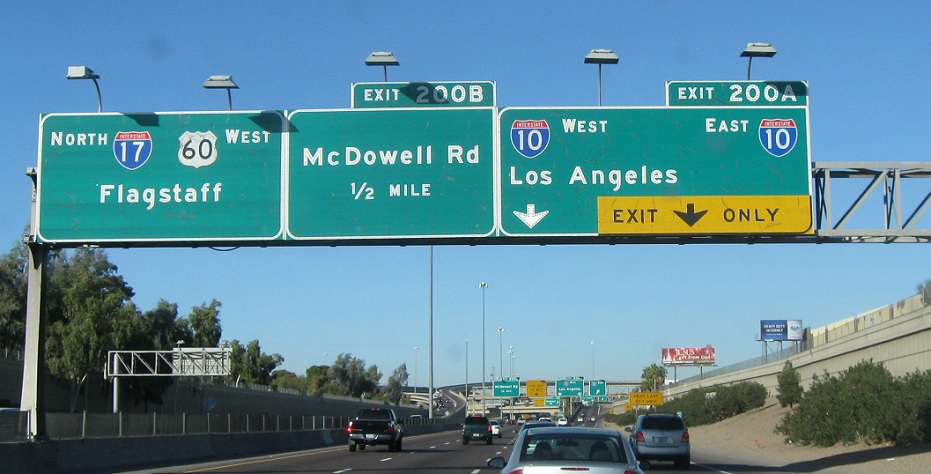
AMP: 200
Location: Black Canyon Fwy and Papago Fwy, Phoenix
Keep left for 17 north and 60 west; exit far right for eastbound I-10 and stay in the second from right lane for 10 west towards Los Angeles
(Historic Photo: December 2010)
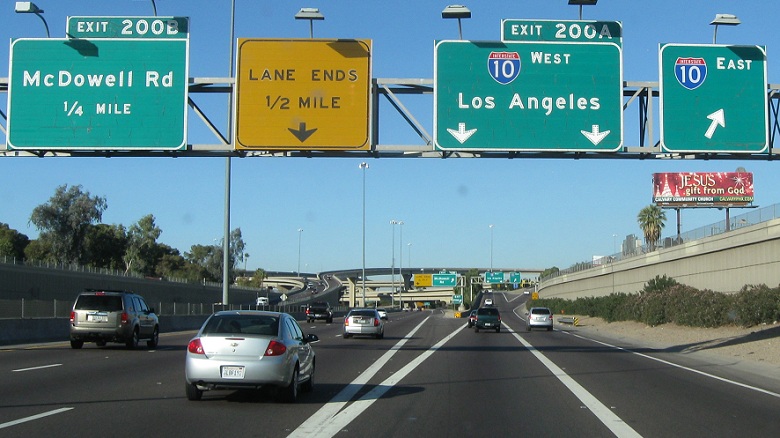
AMP: 200
Location: Black Canyon Fwy and Papago Fwy, Phoenix
Exit for I-10/Papago Freeway

 E to SR 51/Loop 202, W to Loop 101
E to SR 143, W to SR 51/Loop 202
