
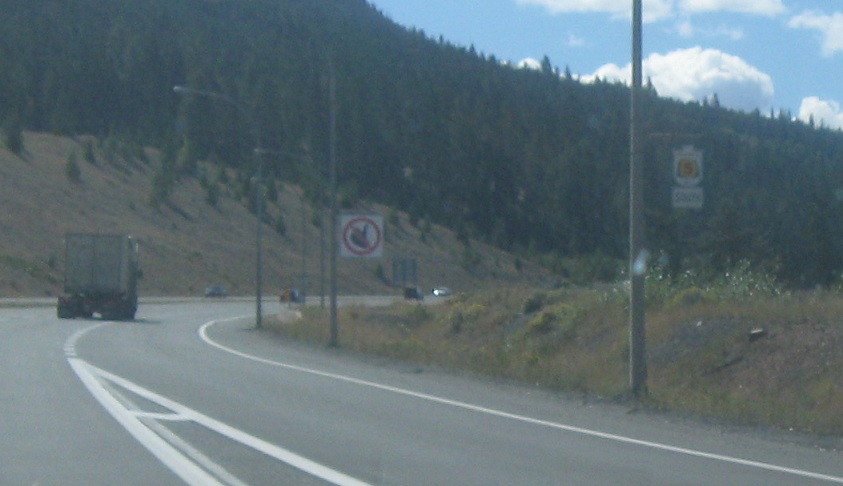
Location: Coquihalla Hwy and BC 5A, Thompson-Nicola RD
Reassurance shield after the southern 5A exit as we head out of Merritt.
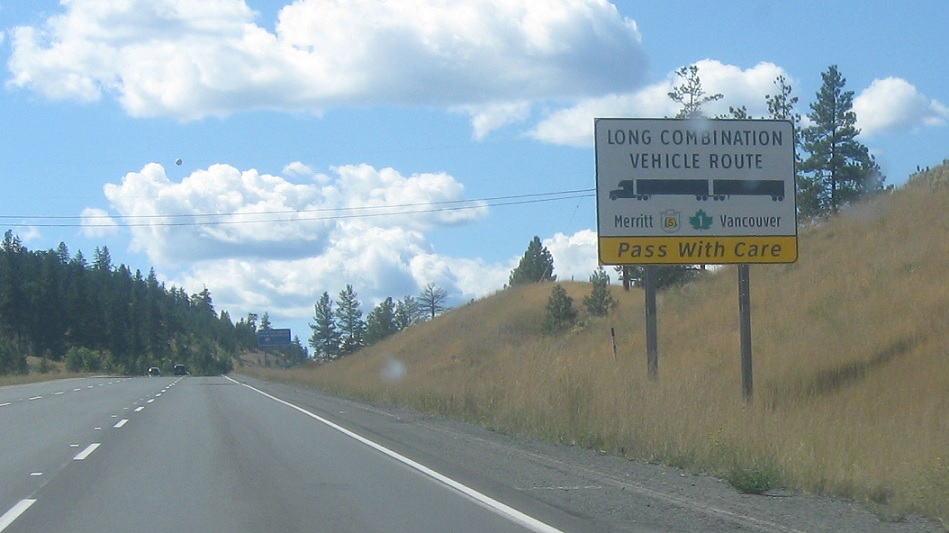
Location: Coquihalla Hwy and BC 5A, Thompson-Nicola RD
There are long vehicles on the Coke.
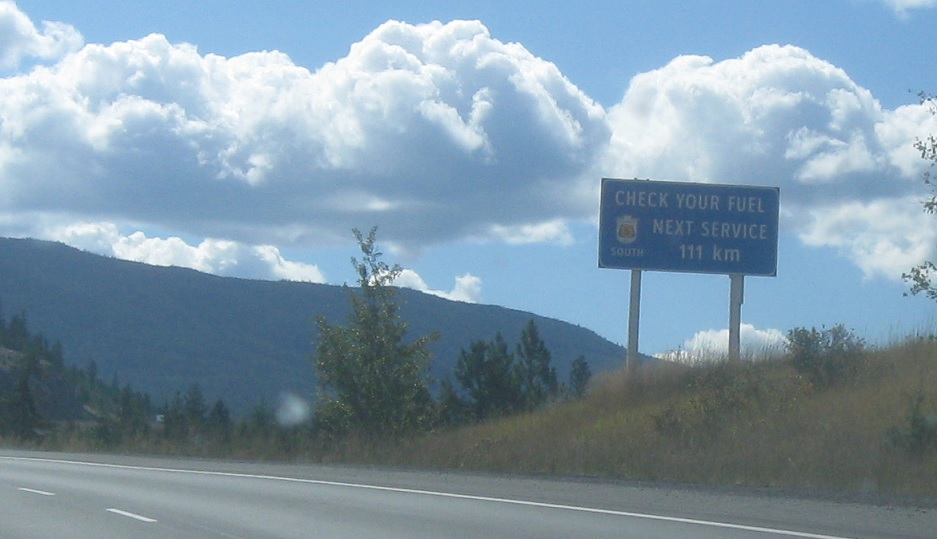
Location: Coquihalla Fwy and BC 5A, Thompson-Nicola RD
111 clicks to the next gas.
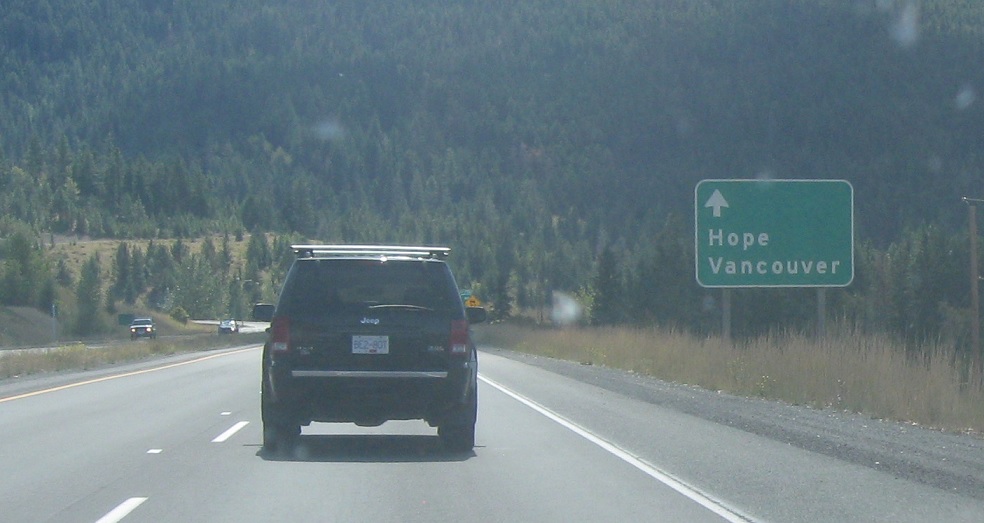
Location: Coquihalla Hwy and Comstock Rd, Thompson-Nicola RD
Stay on BC 5 for Hope and Vancouver.
Location: Coquihalla Hwy and Summit Rd, Fraser Valley RD
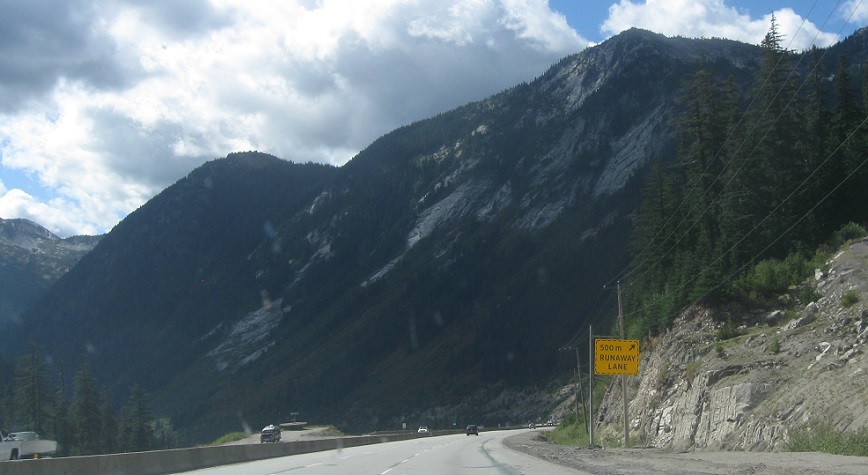
No signage for several kilometers, but here we are descending down from the Coquihalla Summit into the Fraser Valley.
Location: Coquihalla Hwy and Summit Rd, Fraser Valley RD
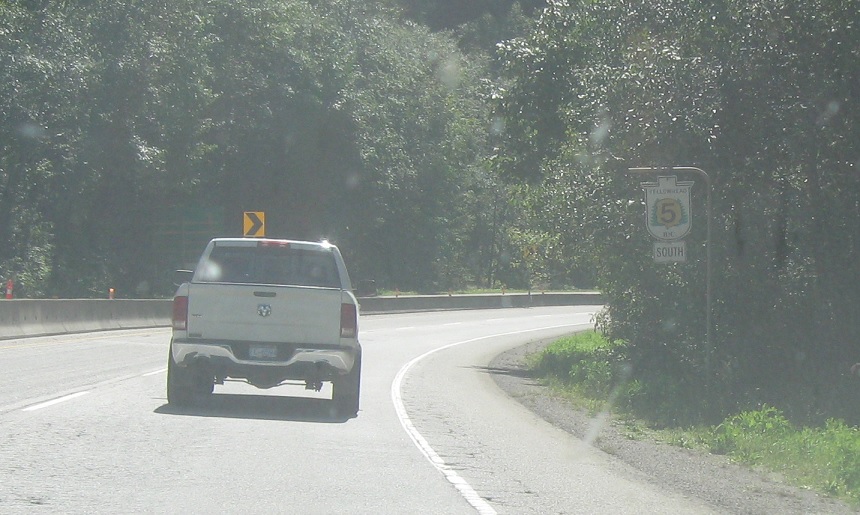
Reassurance shield a few clicks later.
Location: Coquihalla Hwy and Crowsnest Hwy, Fraser Valley RD
Several kilometers later we’ll approach BC 3.
Location: Coquihalla Hwy and Crowsnest Hwy, Fraser Valley RD
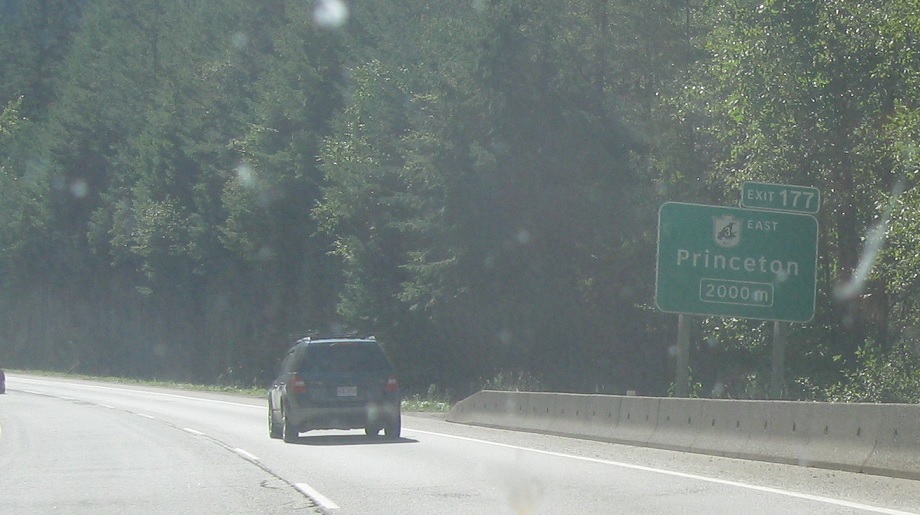
Exit in 1 km for BC 3 east. BC 3 west takes over the freeway as BC 5 ends.
Location: Coquihalla Hwy and Crowsnest Hwy, Fraser Valley RD
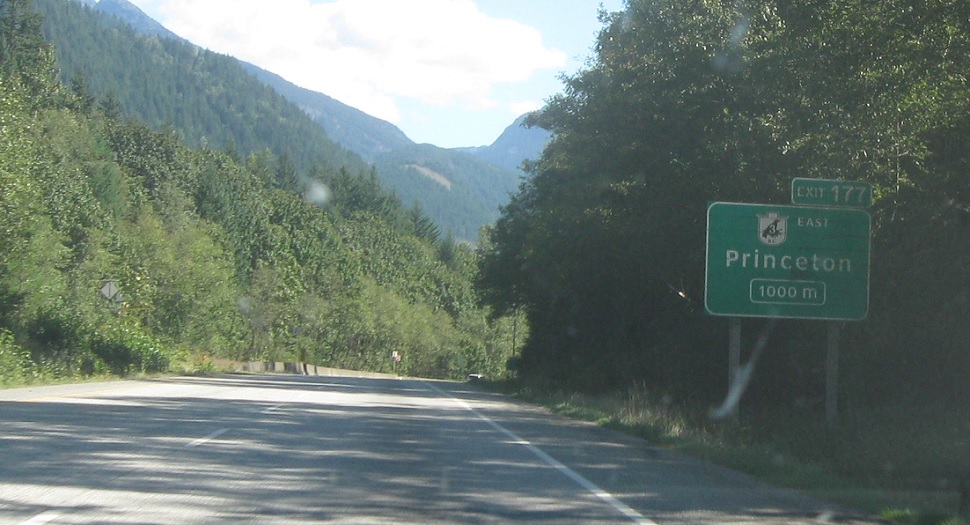
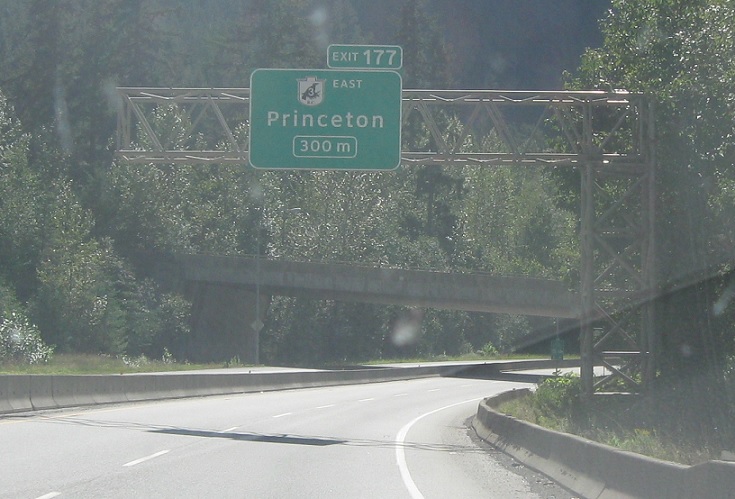
300 meters to the exit.
Location: Coquihalla Hwy and Crowsnest Hwy, Fraser Valley RD
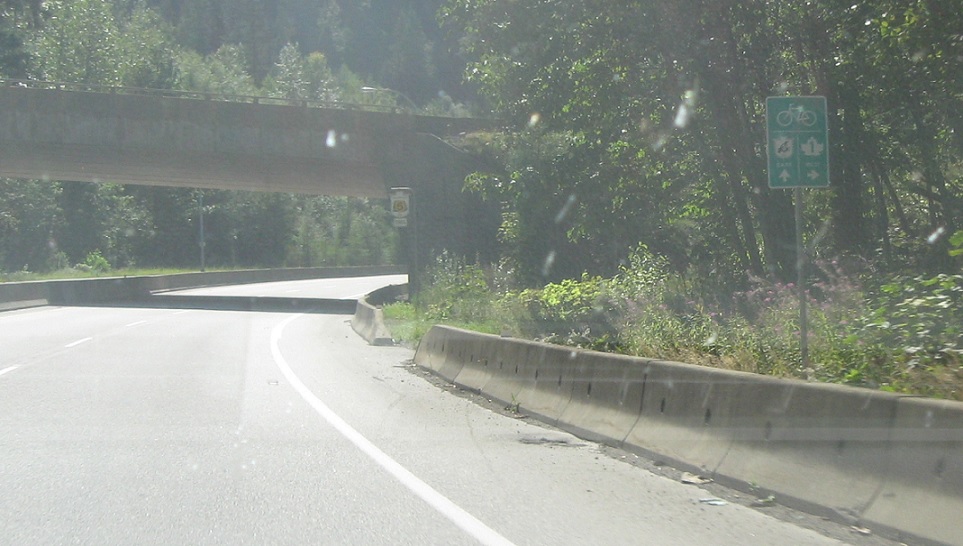
Guidance for any crazy cyclists along this freeway.
Location: Coquihalla Hwy and Crowsnest Hwy, Fraser Valley RD
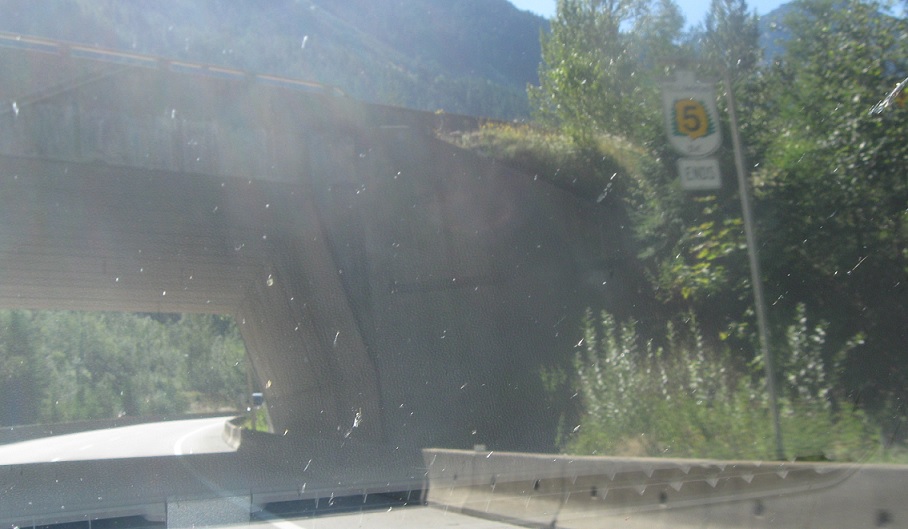
BC 5 ends as we approach BC 3.
Location: Coquihalla Hwy and Crowsnest Hwy, Fraser Valley RD
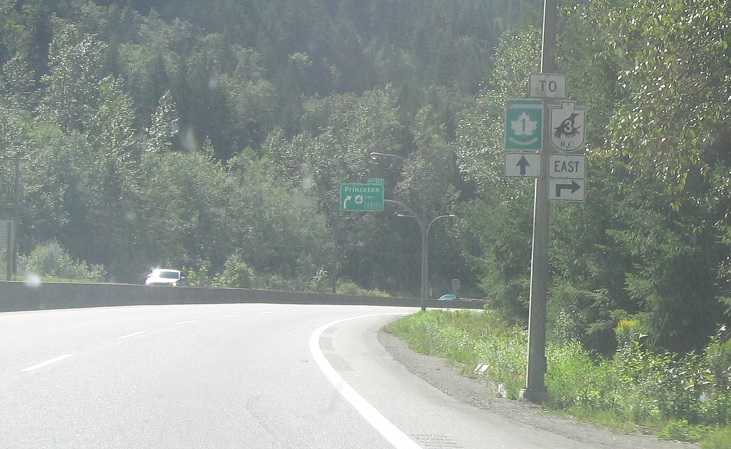
Exit ahead for 3 east. Follow 3 west about 3 km to BC 1, where it also ends.
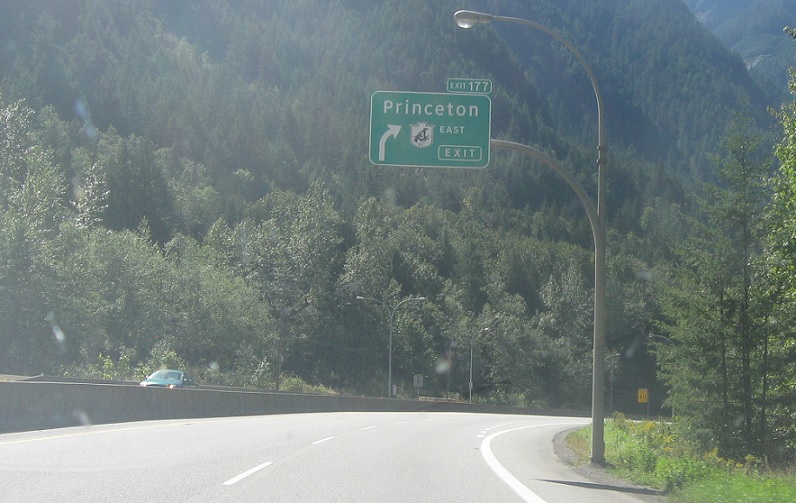
Location: Coquihalla Hwy and Crowsnest Hwy, Fraser Valley RD
Exit for 3 east. Stay straight for 3 west.

 E to BC-5A, W to BC-1

 W to BC-5A
 W to BC-5A, E to BC-5A
