
Last Driven September 2015
Location: Trans-Canada Hwy and Taylor Way, West Vancouver
No reassurance shield after the BC 99 split.
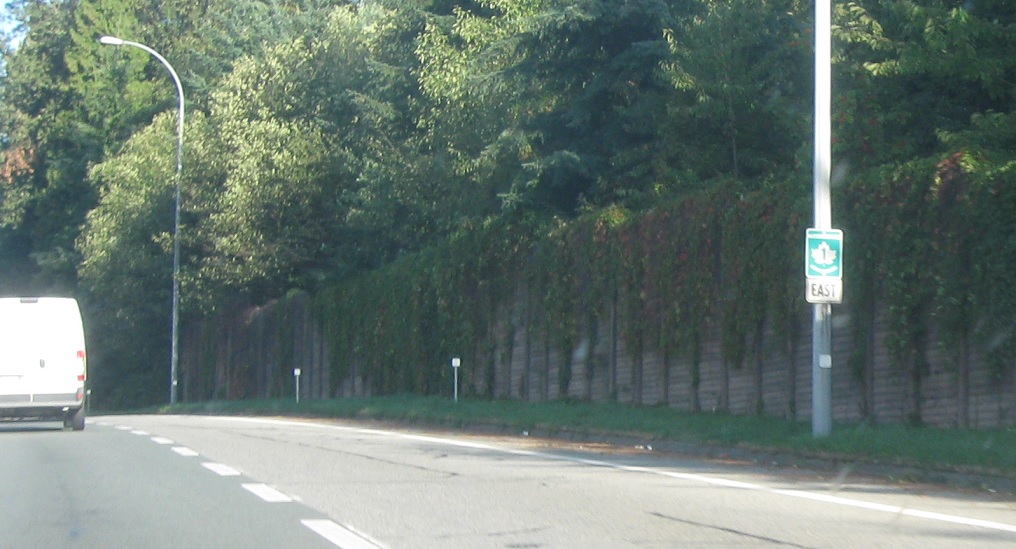
Location: Trans-Canada Hwy and Capilano Rd, West Vancouver
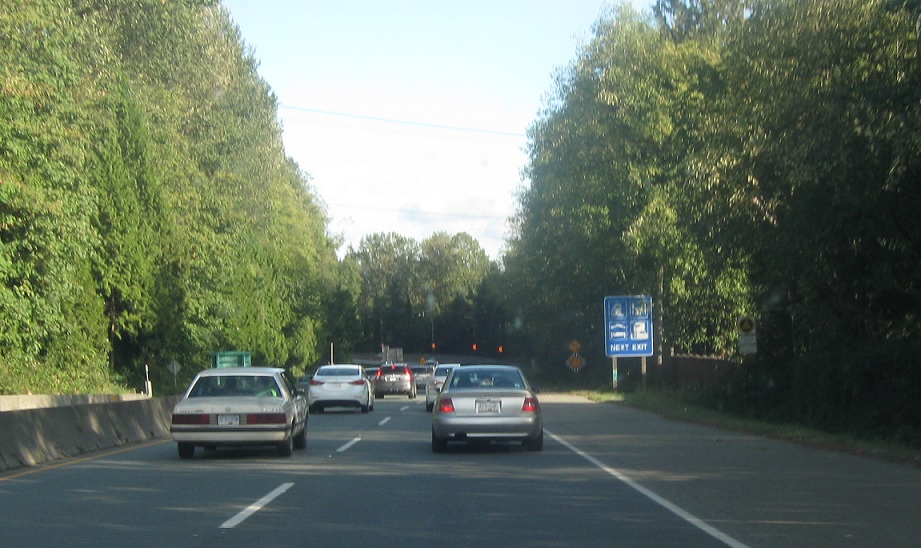
Reassurance shield after Capilano Rd.
Location: Trans-Canada Hwy and Westview Dr, North Vancouver
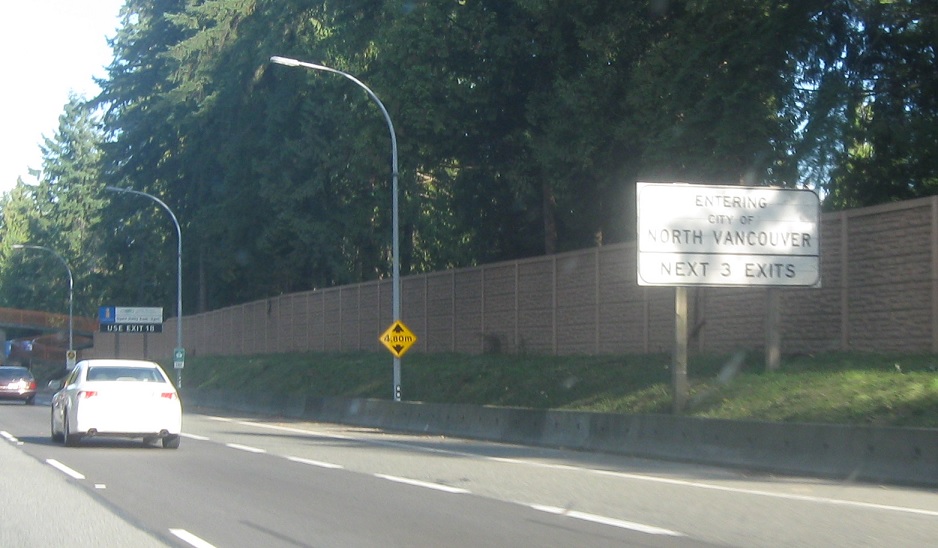
Welcome to North Vancouver!

Location: Trans-Canada Hwy and Westview Dr, North Vancouver
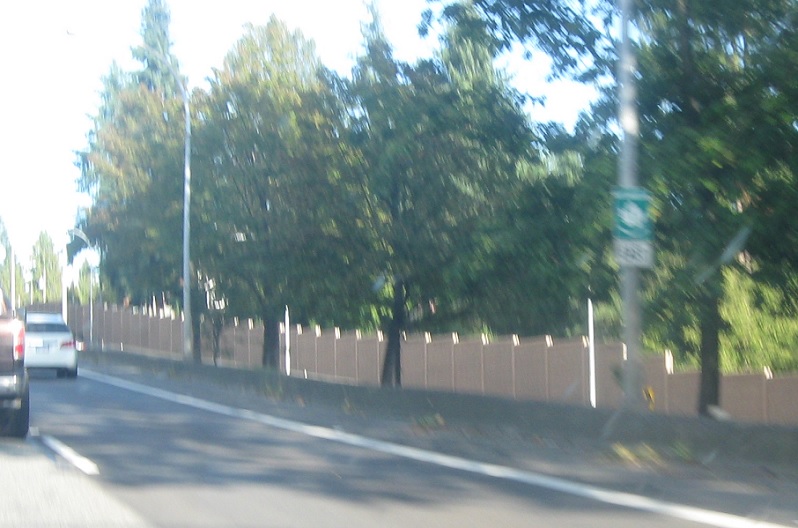
Reassurance shield at Westview Dr.
Location: Trans-Canada Hwy and Lonsdale Ave, North Vancouver
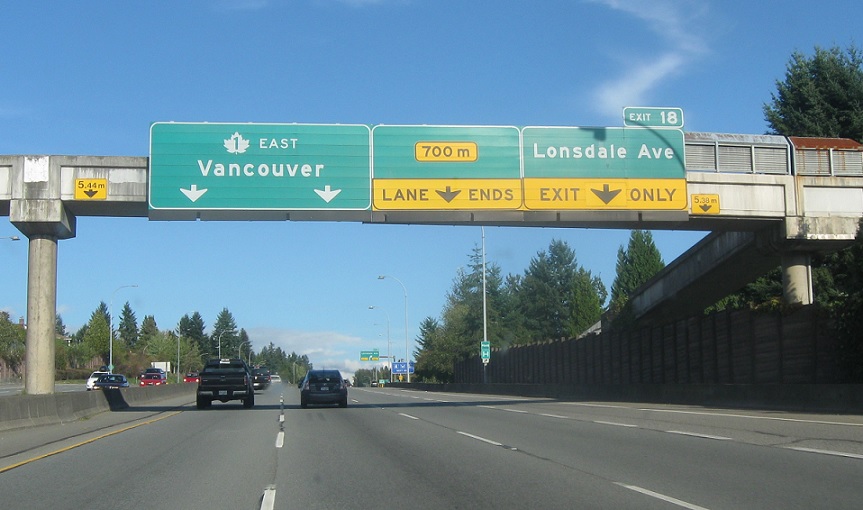
Stay on 1 east for Vancouver, even though we’re driving away from downtown.
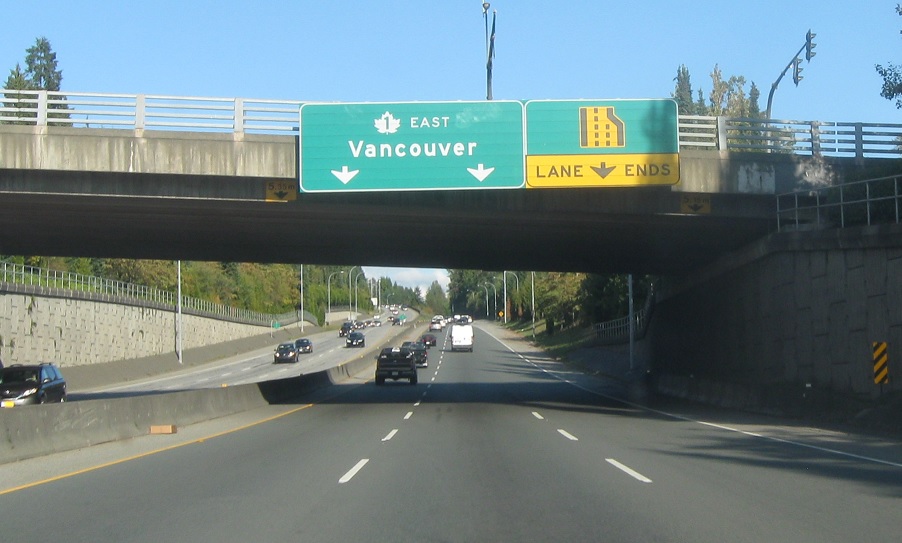
Location: Trans-Canada Hwy and Lonsdale Ave, North Vancouver
Keep left for 1 east.
Location: Trans-Canada Hwy and Lonsdale Ave, North Vancouver
Reassurance shield after Lonsdale Ave.
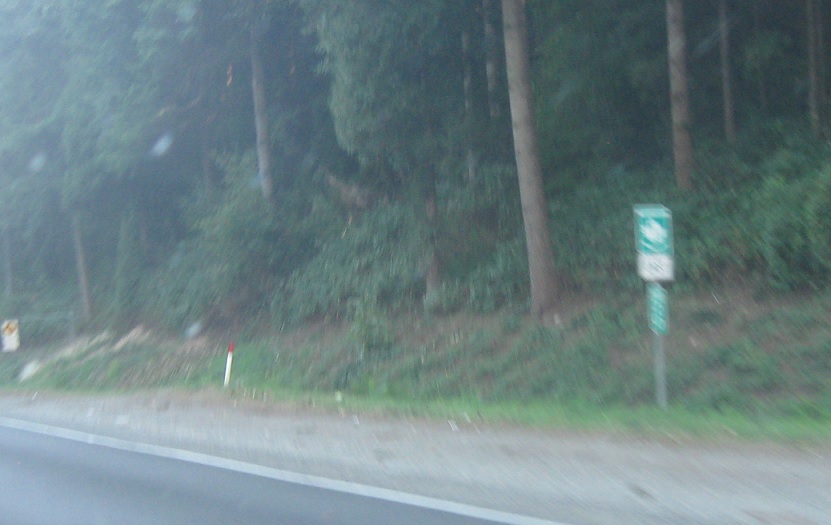
Location: Trans-Canada Hwy and Lynn Valley Rd, North Vancouver
Reassurance shield at Lynn Valley Rd.
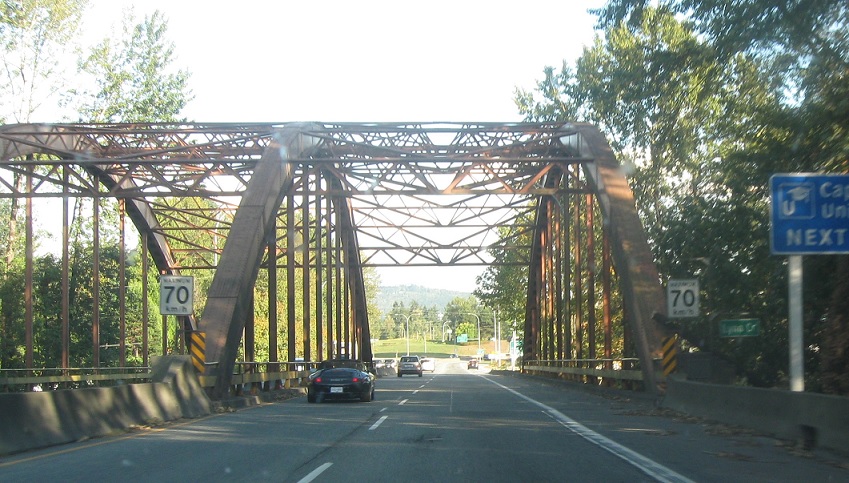
Location: Trans-Canada Hwy and Arborlynn Dr, North Vancouver
Truss bridge as we head out of North Vancouver.
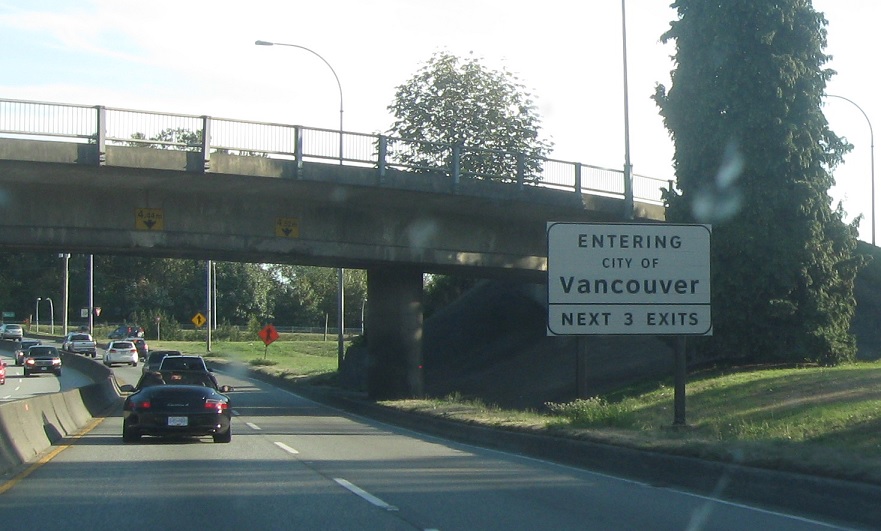
Location: Trans-Canada Hwy and Main St, North Vancouver
Just ahead, we’ll enter the city of Vancouver.
(Historic Photo: March 2007)
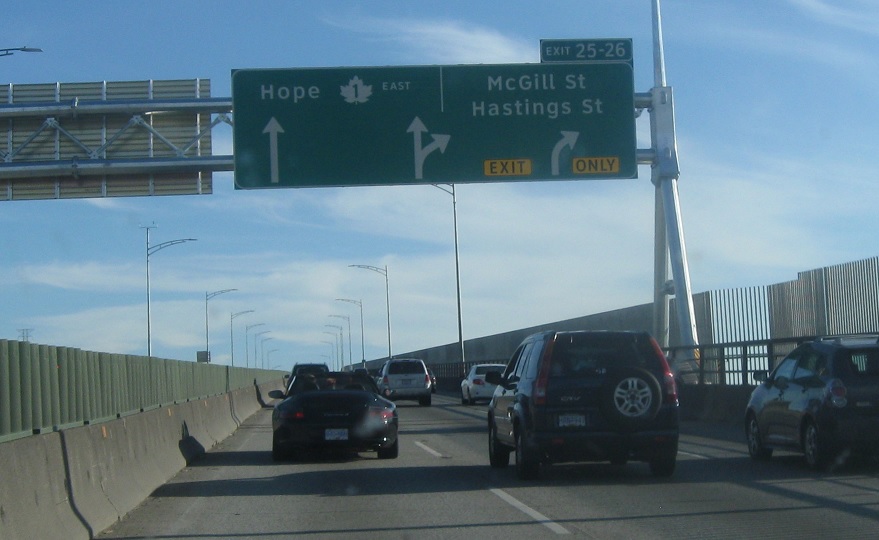
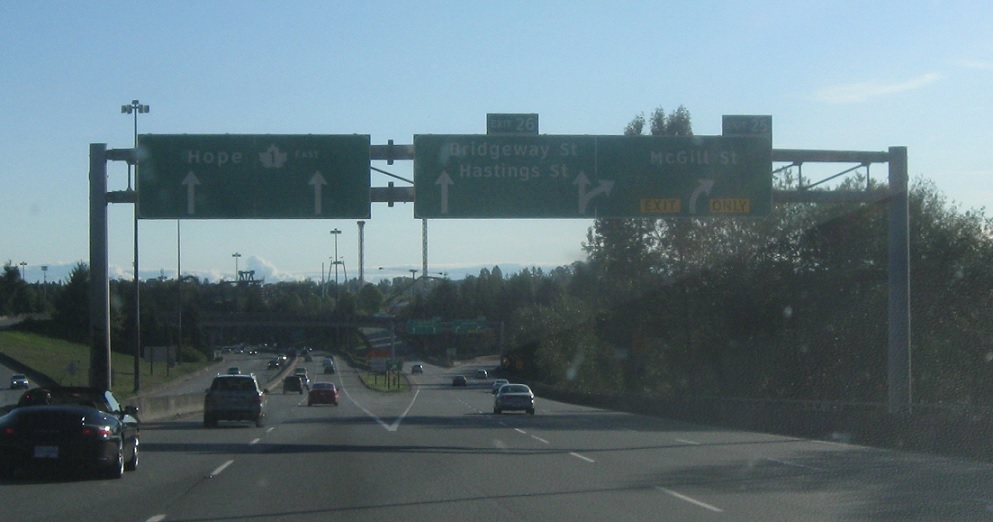
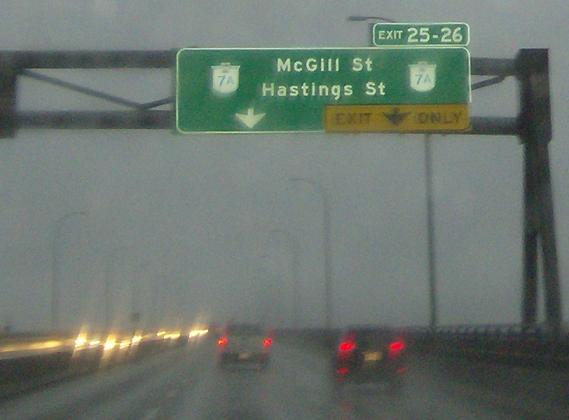
Location: Trans-Canada Hwy and McGill St, North Vancouver
Exit ahead for McGill St as we cross the Burrard Inlet into Vancouver.
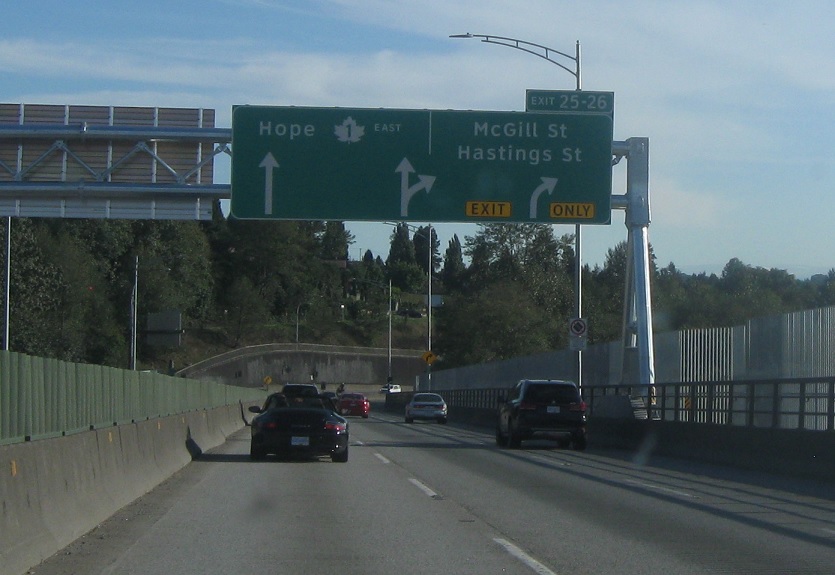
(Historic Photo: March 2007)
Location: Trans-Canada Hwy and McGill St, Vancouver
Welcome to Vancouver!
(Historic Photo: March 2007)
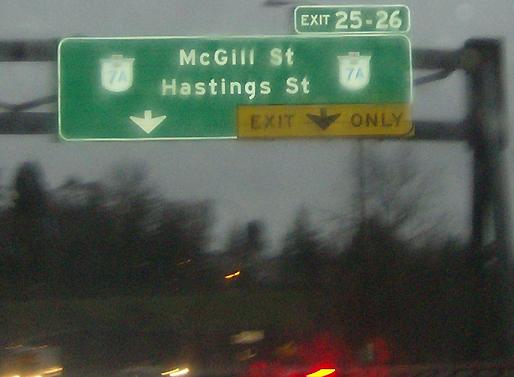
Location: Trans-Canada Hwy and McGill St, Vancouver
Exit for old BC 7A.
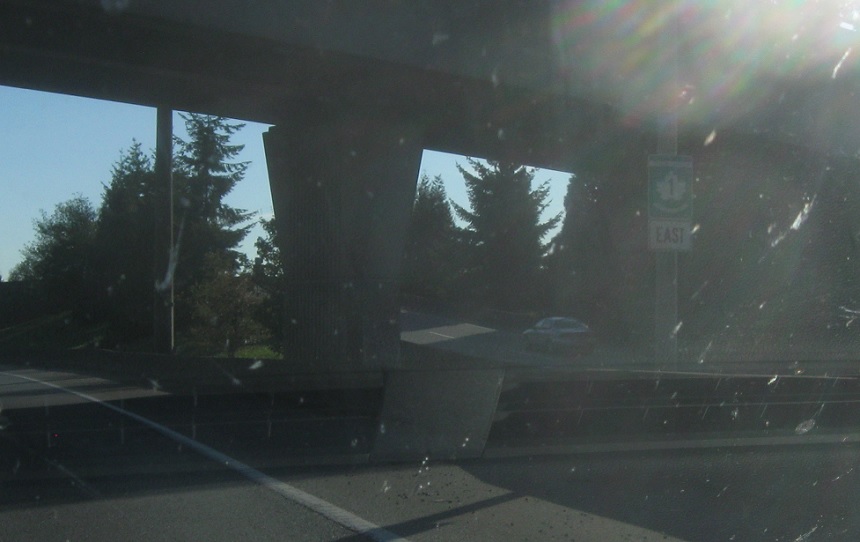
Location: Trans-Canada Hwy and McGill St, Vancouver
Reassurance shield at the 7A exit.
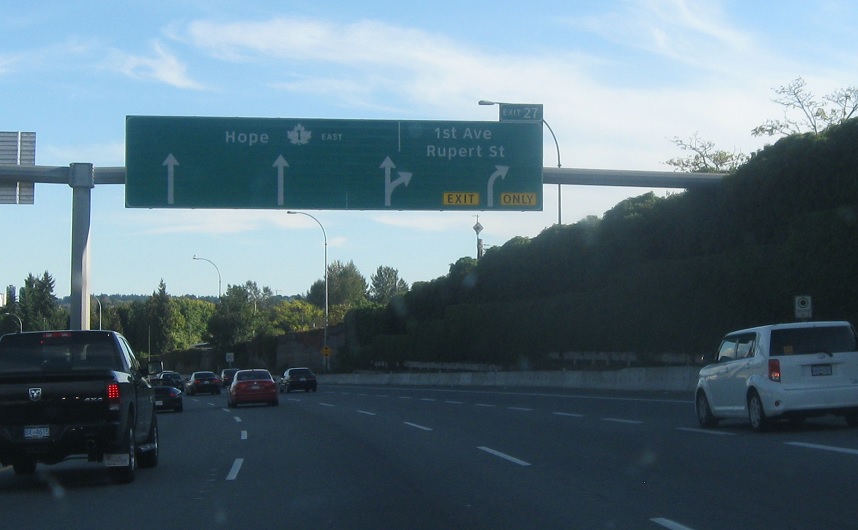
Location: Trans-Canada Hwy and 1st Ave, Vancouver
Overhead signage at 1st Avenue.
Location: Trans-Canada Hwy and 1st Ave, Vancouver
Exit for 1st Ave.
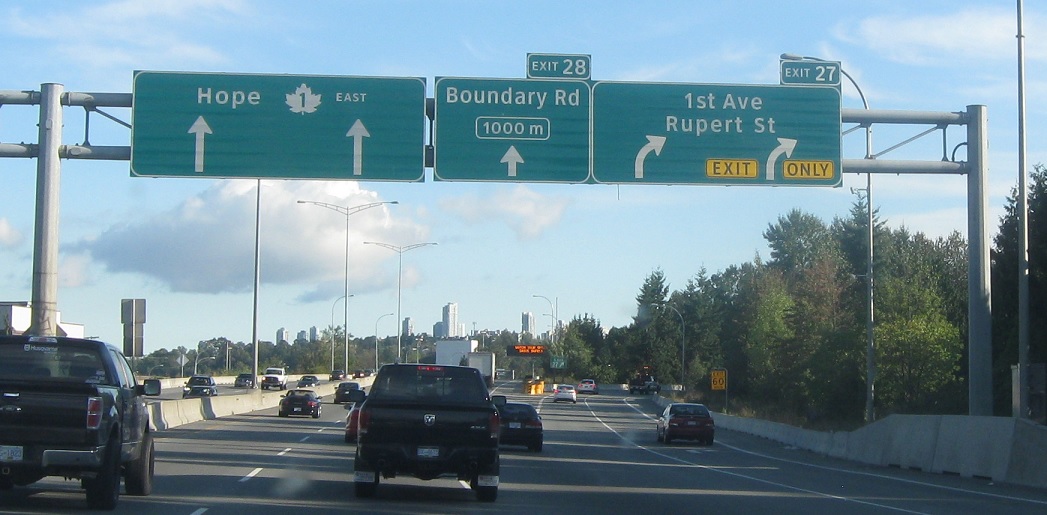
Location: Trans-Canada Hwy and Boundary Rd, Vancouver
Exit for Boundary Rd as we head out of Vancouver.
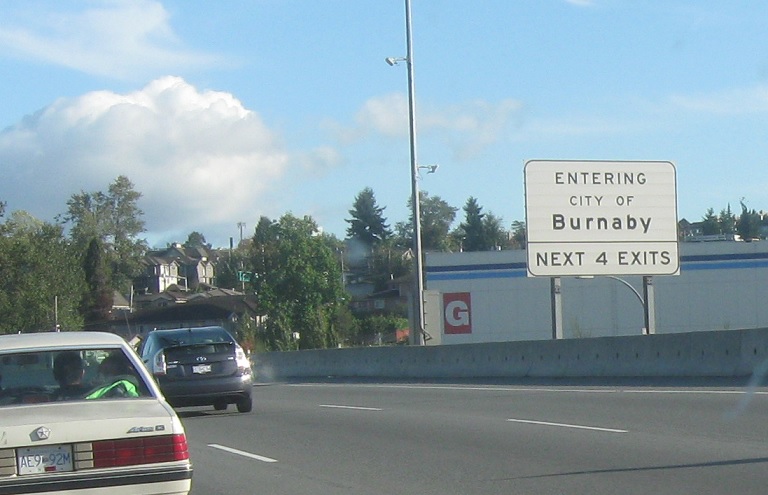
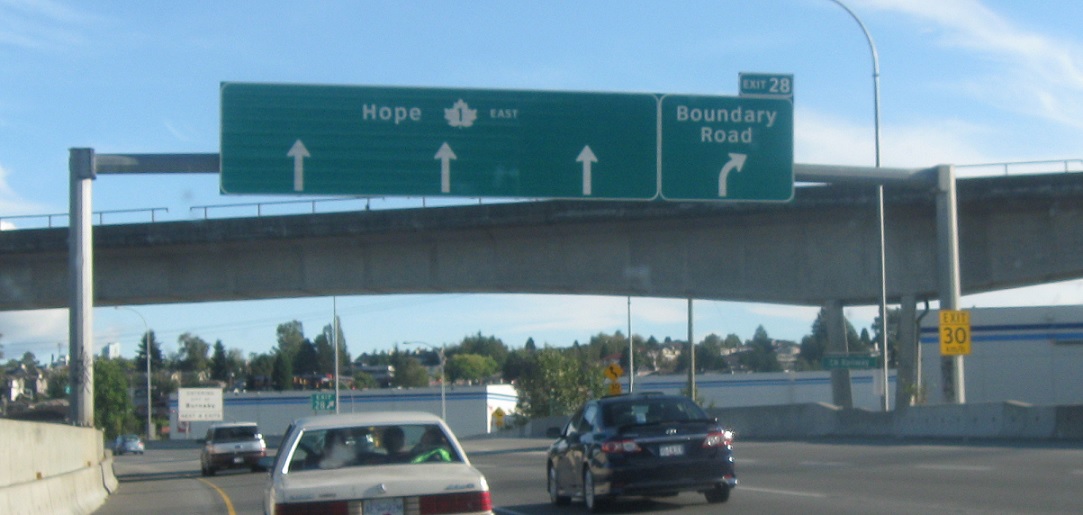
Location: Trans-Canada Hwy and Boundary Rd, Vancouver
Welcome to Burnaby!

Location: Trans-Canada Hwy and Willingdon Ave, Burnaby
Stay straight for 1 east.
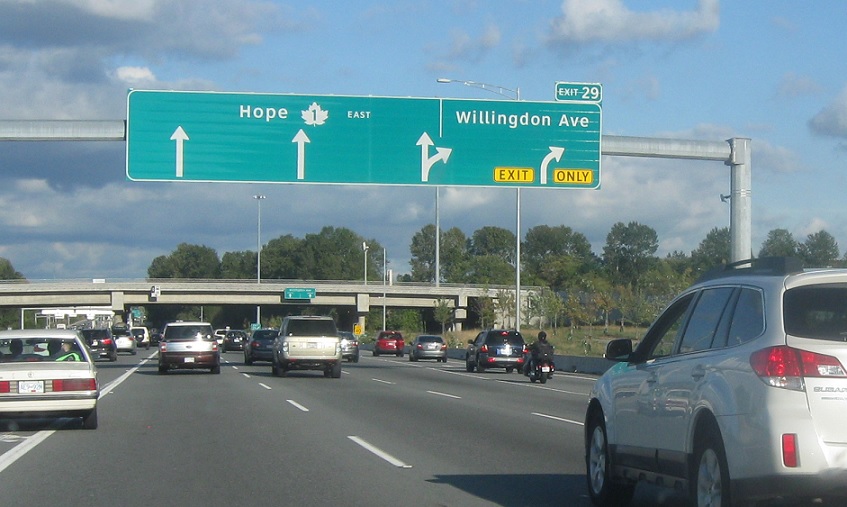
Location: Trans-Canada Hwy and Willingdon Ave, Burnaby
Exit for Willingdon Ave.
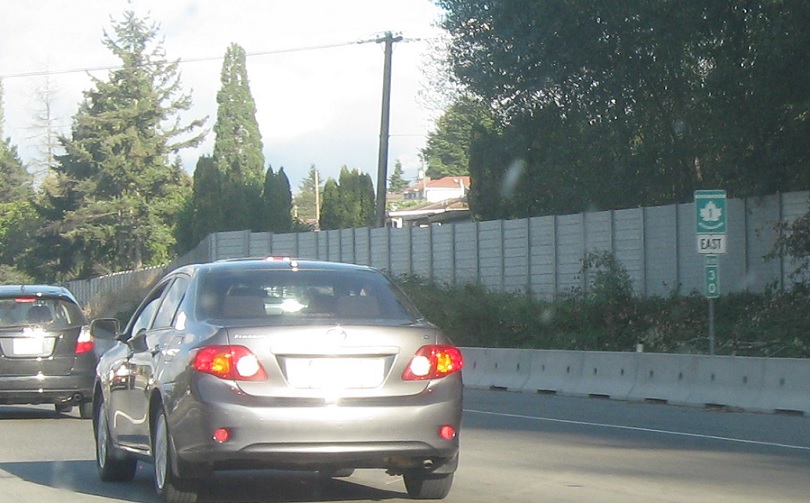
Location: Trans-Canada Hwy and Willingdon Ave, Burnaby
Reassurance shield after Willingdon Ave.
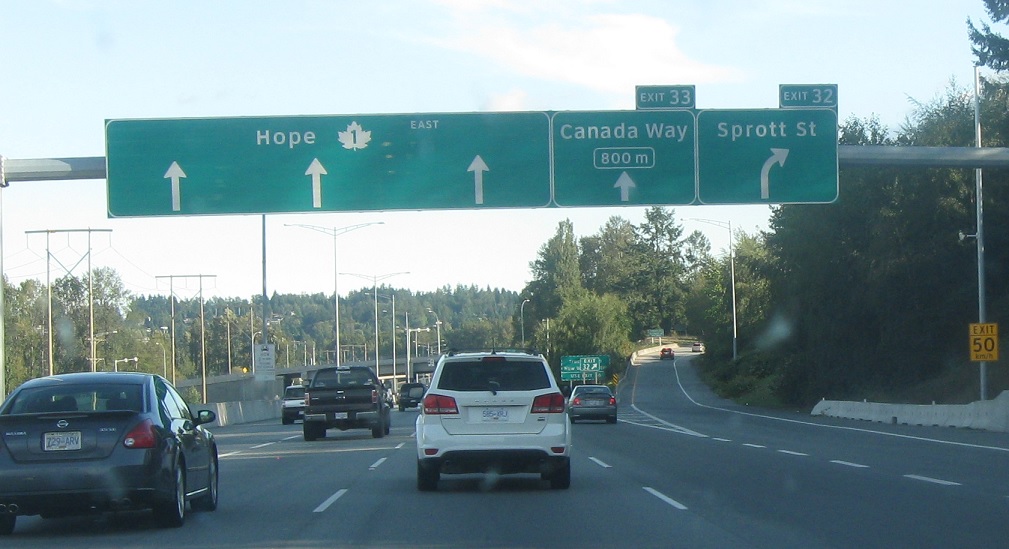
Location: Trans-Canada Hwy and Sprott St, Burnaby
Exit for Sprott St.
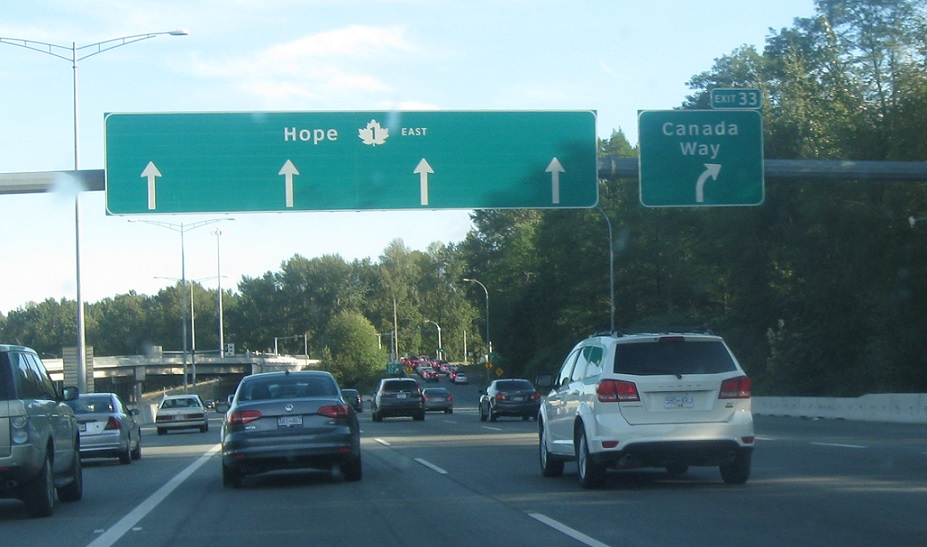
Location: Trans-Canada Hwy and Canada Way, Burnaby
Exit for Canada Way.
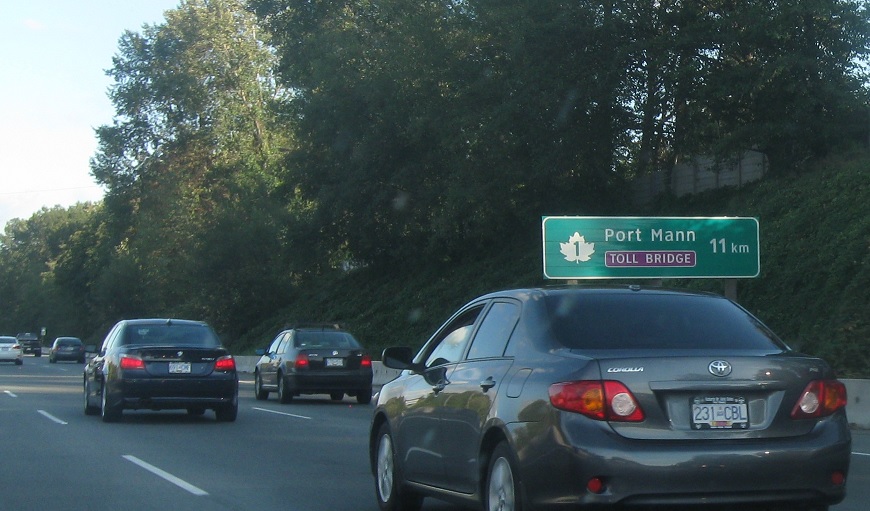
Location; Trans-Canada Hwy and Canada Way, Burnaby
In 11 km, we’ll cross the Fraser River over a toll bridge.
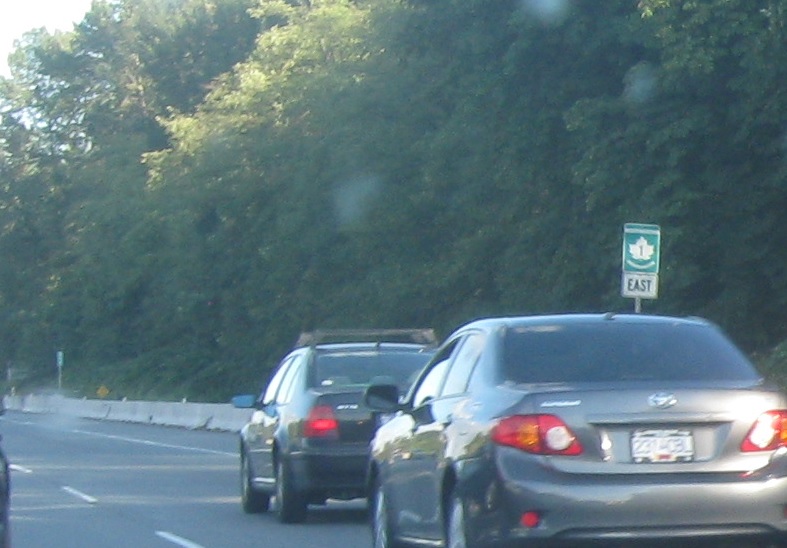
Location: Trans-Canada Hwy and Canada Way, Burnaby
Reassurance shield after Canada Way.
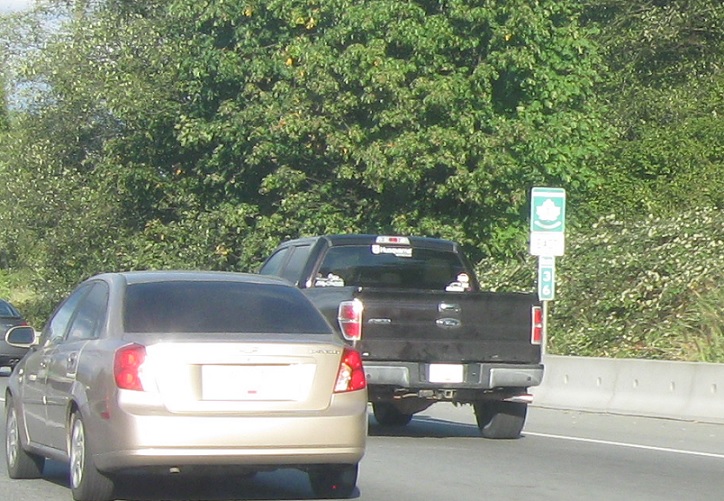
Location: Trans-Canada Hwy and Gaglardi Way, Burnaby
Reassurance shield before Gaglardi Way.
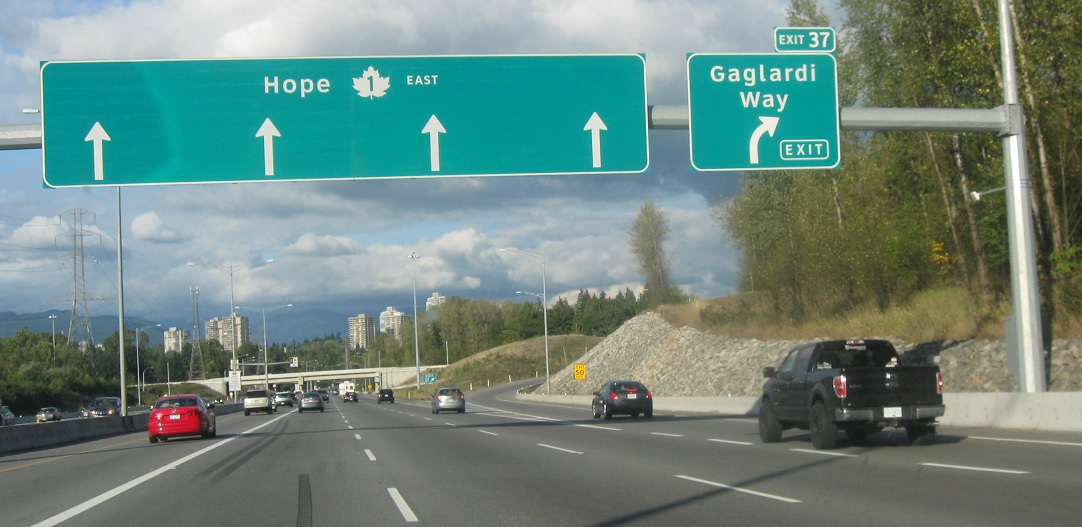
Location: Trans-Canada Hwy and Gaglardi Way, Burnaby
Stay on 1 east for Hope.
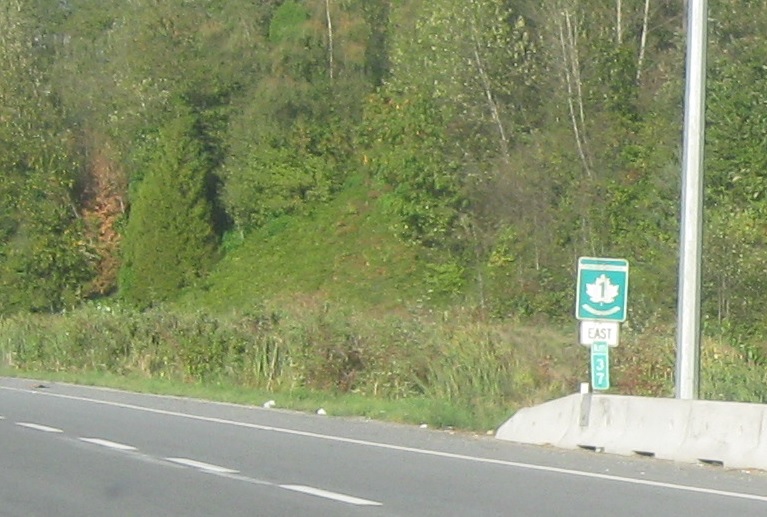
Location: Trans-Canada Hwy and Gaglardi Way, Burnaby
Reassurance shield after Gaglardi Way.
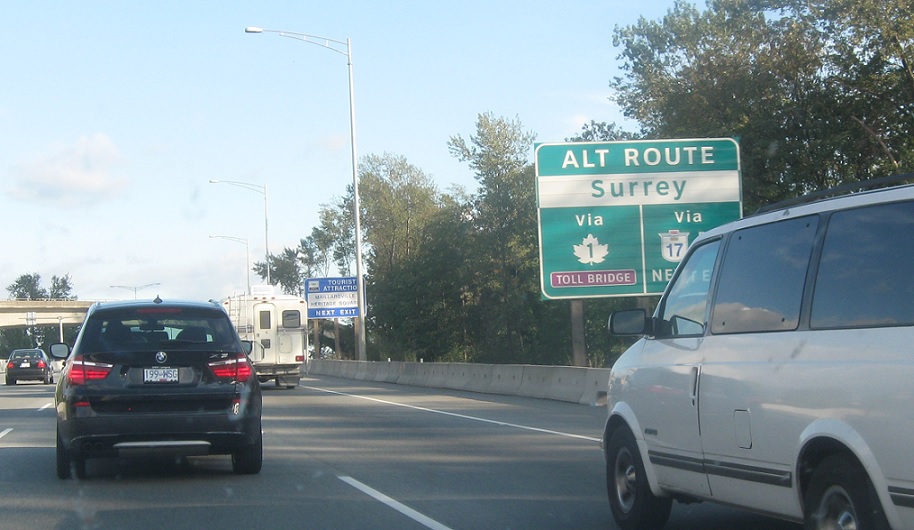
Location: Trans-Canada Hwy and Brunette Ave, Coquitlam
As we enter Coquitlam, we’re told we can either follow the toll bridge to Surrey or a weird combination of local roads to BC 17.
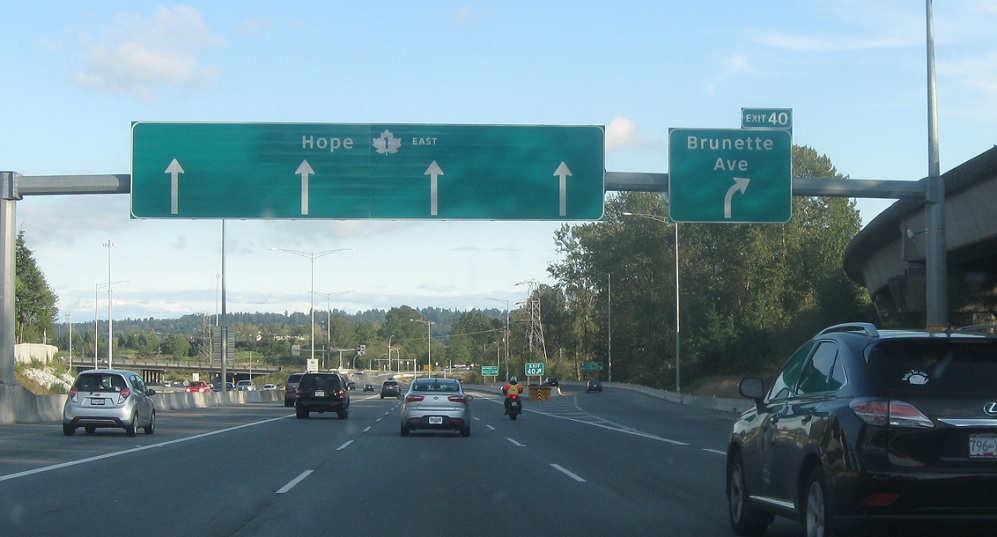
Location: Trans-Canada Hwy and Brunette Ave, Coquitlam
Exit for Brunette Ave.
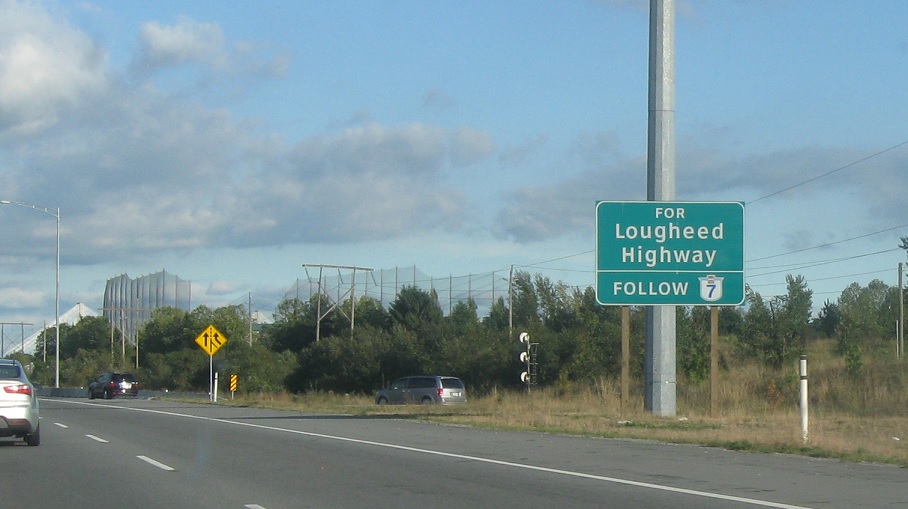
Location: Trans-Canada Hwy and Brunette Way, Coquitlam
Follow BC 7 for the Lougheed Hwy.
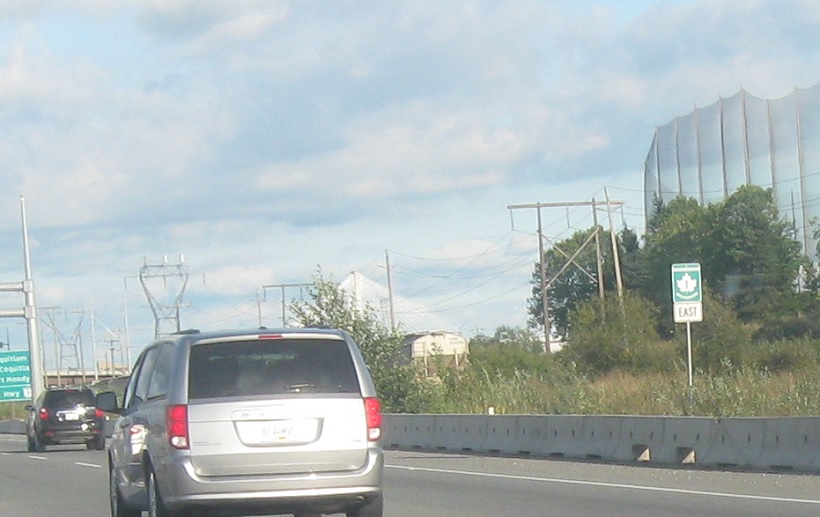
Location: Trans-Canada Hwy and Brunette Ave, Coquitlam
Reassurance shield after Brunette Ave.
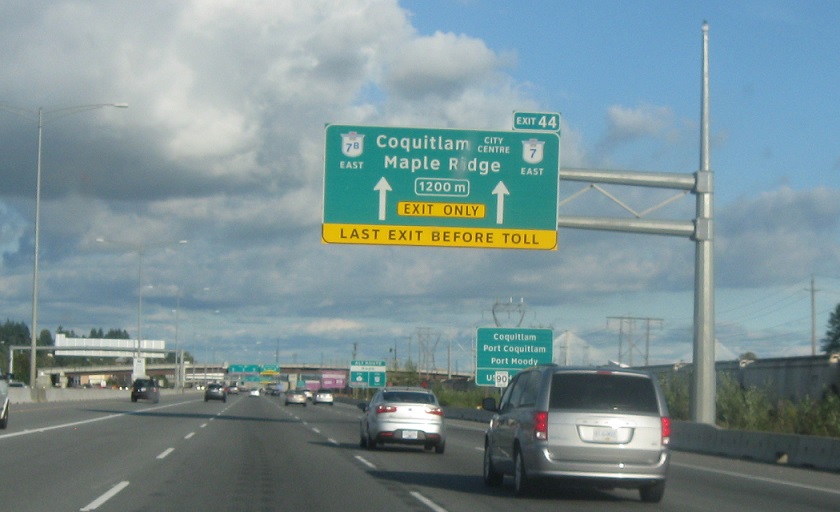
Location: Trans-Canada Hwy and Brunette Ave, Coquitlam
Exit ahead for BCs 7 and 7B.
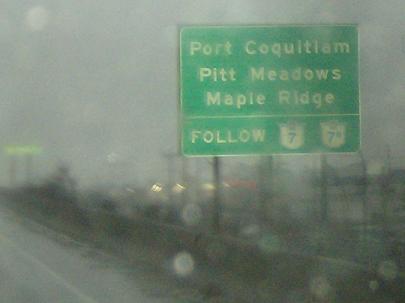
Location: Trans-Canada Hwy and Brunette Ave, Coquitlam
Follow 7/7B for Port Coquitlam.
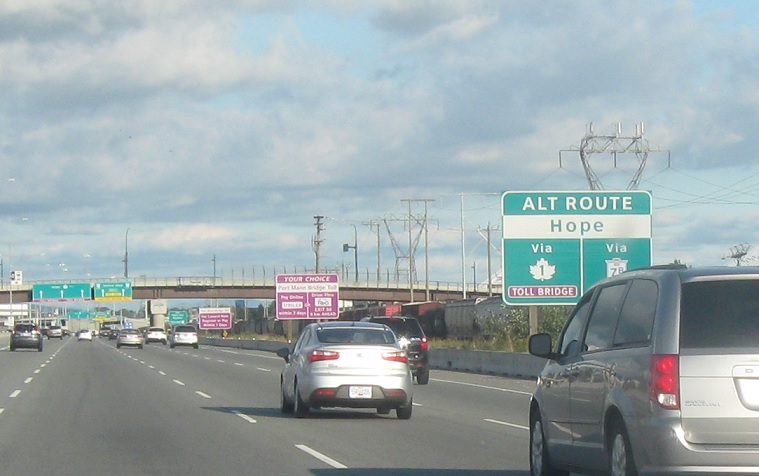
Location: Trans-Canada Hwy and Lougheed Hwy, Coquitlam
Both BC 1 and BC 7B to BC 7 can get you to Hope.
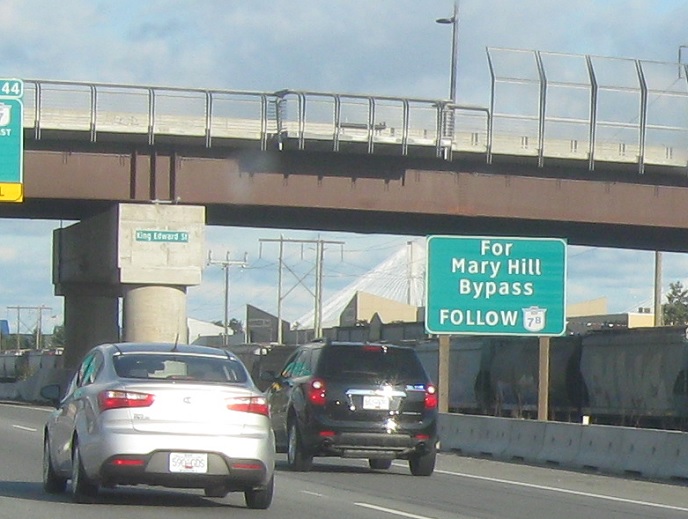
Location: Trans-Canada Hwy and Lougheed Hwy, Coquitlam
BC 7B is the Mary Hill Bypass.
(Historic Photo: March 2007)
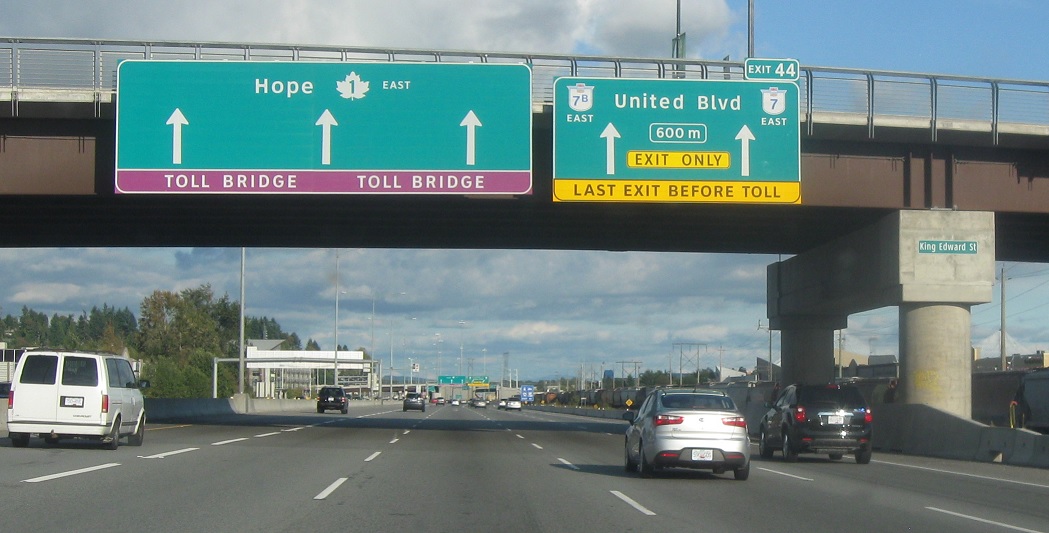
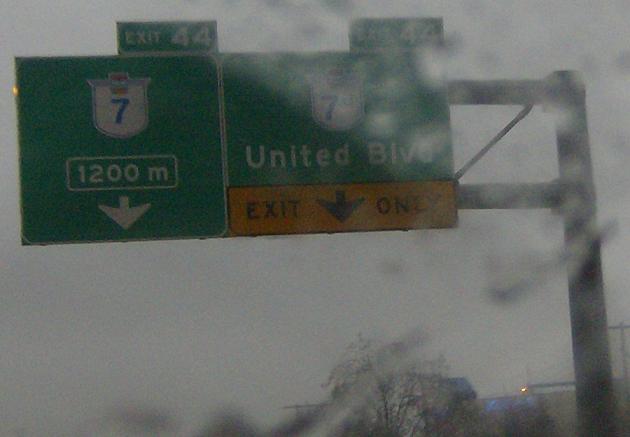
Location: Trans-Canada Hwy and Lougheed Way, Coquitlam
Exit for 7, 7B, and United Blvd.
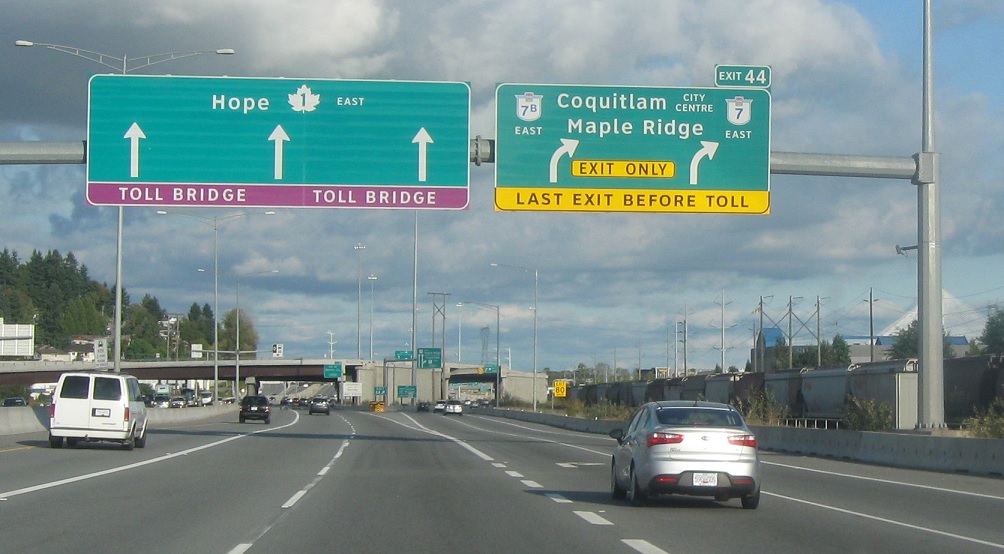
Location: Trans-Canada Hwy and Lougheed Hwy, Coquitlam
BC 7B bypasses Coquitlam while BC 7 heads downtown.

 W to BC-99, E to BC-7B


