
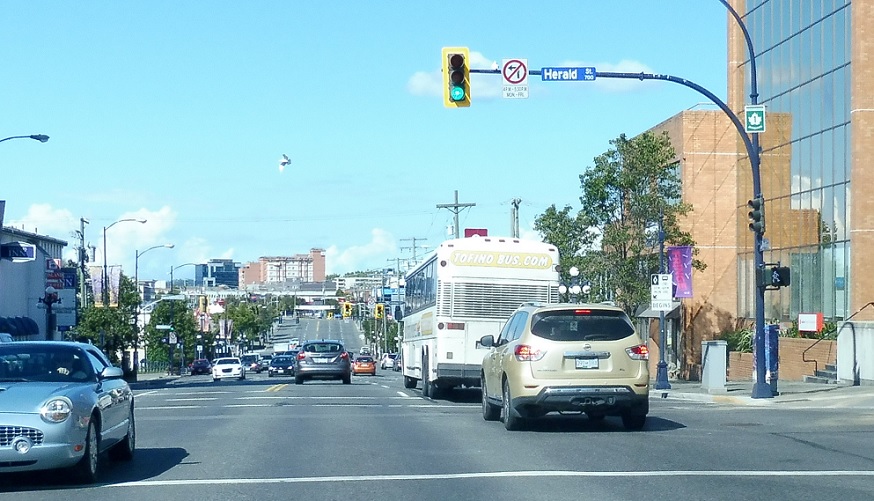
Location: Douglas St and Herald St, Victoria
Reassurance shield as we pass through downtown Victoria.
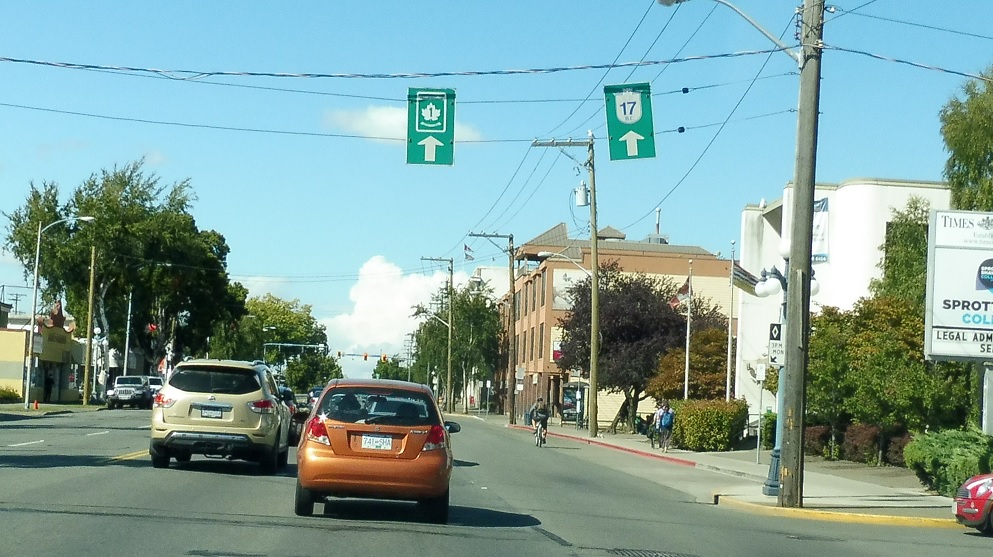
Location: Douglas St and Bay St, Victoria
Reassurance shield a few blocks later. BC 17 parallels BC 1 out of town, running just a couple blocks east of here.
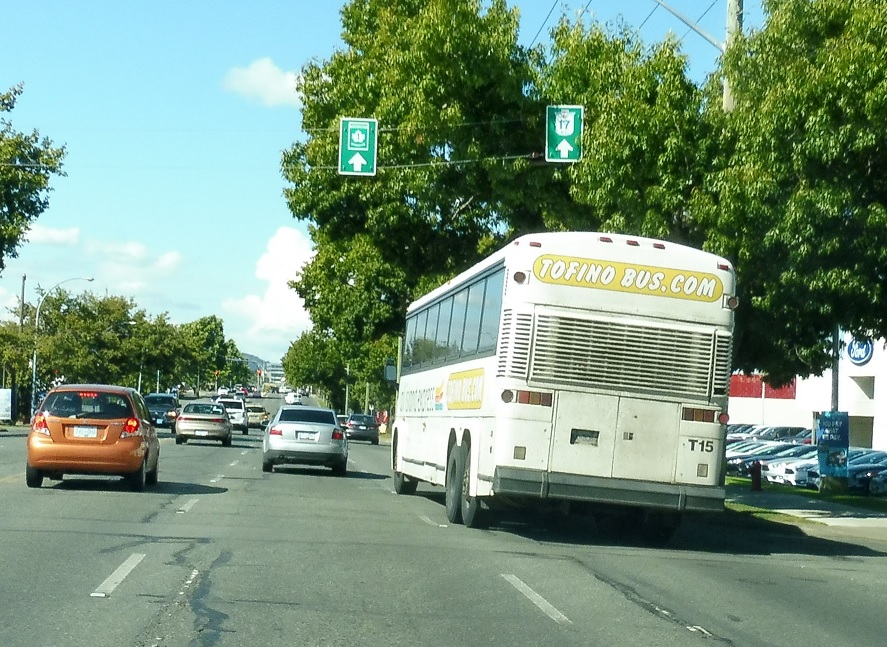
Location: Douglas St and Saanich Rd, Victoria
A few blocks later, keep right to access BC 17.
Location: Douglas St and Saanich Rd, Victoria
Turn right onto Saanich Rd to connect to BC 17.
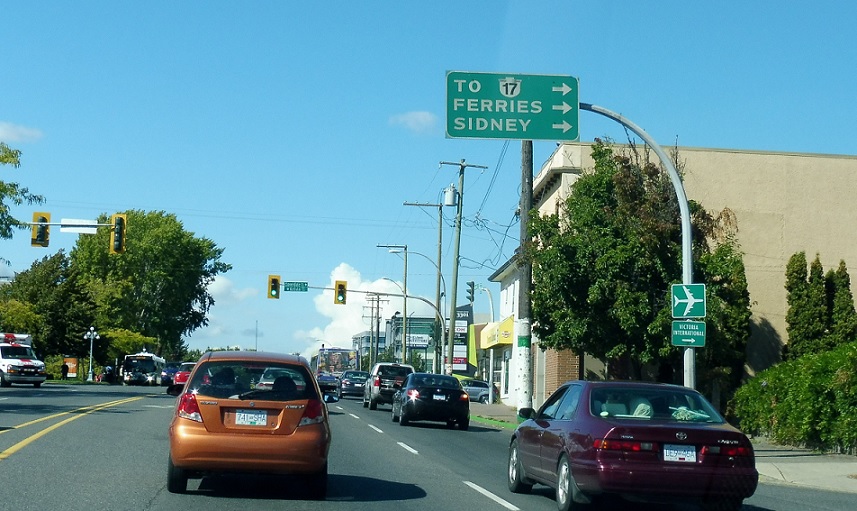
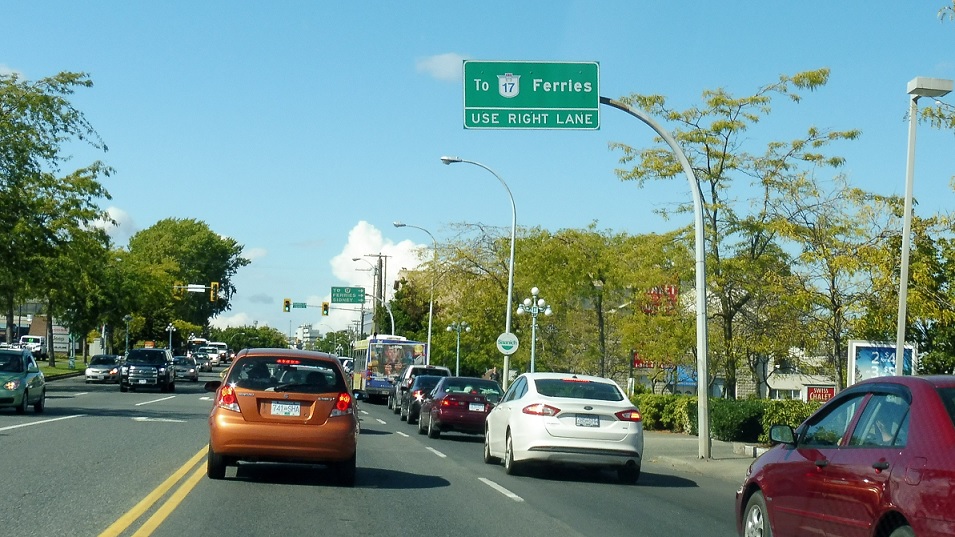
Location: Douglas St and Saanich Rd, Victoria
Follow 17 to the ferries and Sidney.

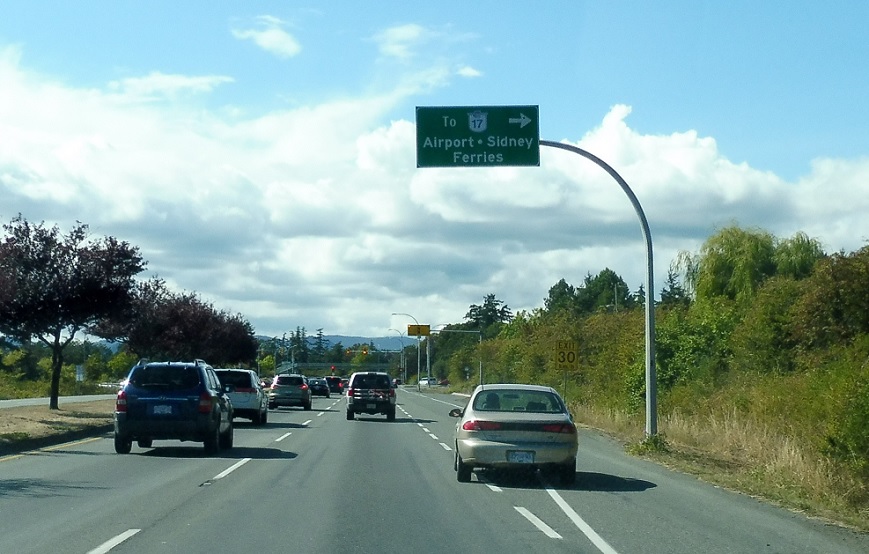
Location: Douglas St and Saanich Rd, Victoria
Keep right for BC 17.
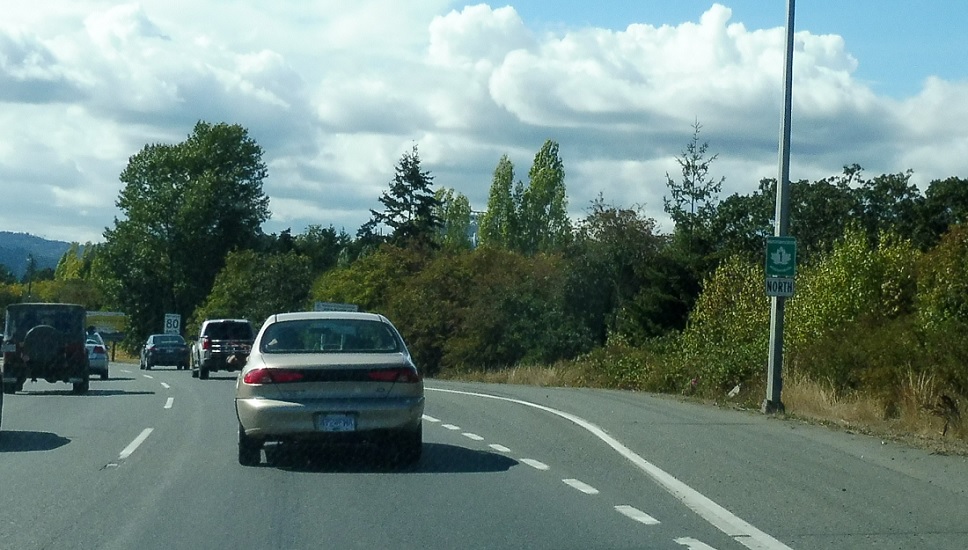
Location: Trans-Canada Hwy and Tillicum Rd, Saanich
Just after that, we’re reassured as we head out of Victoria and into Saanich. BCMOT jurisdiction begins here.
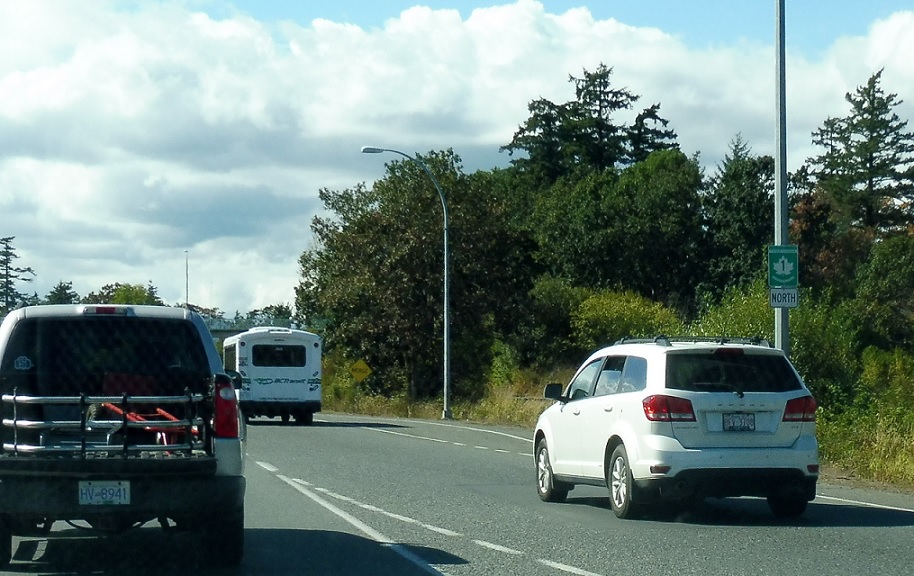
Location: Trans-Canada Hwy and McKenzie Ave, Saanich
Follow McKenzie Avenue back to BC 17.
Location: Trans-Canada Hwy and McKenzie Ave, Saanich
Reassurance shield after McKenzie Ave.
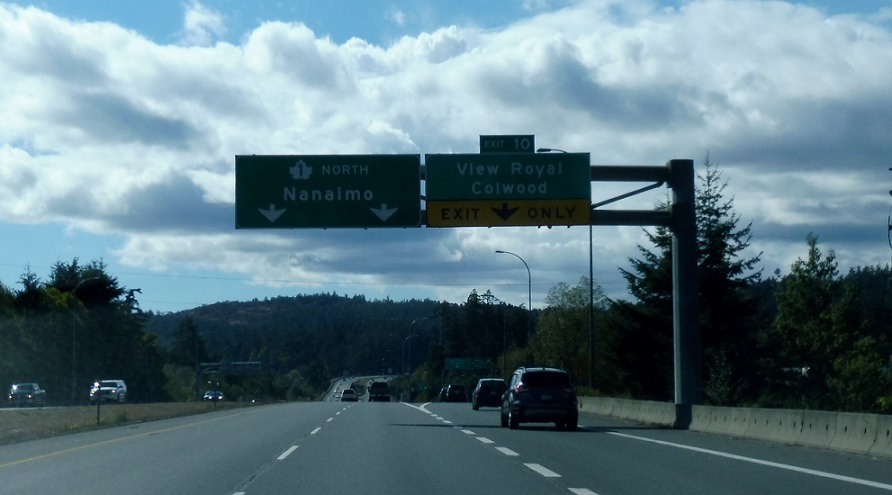
Location: Trans-Canada Hwy and Helmcken Rd, View Royal
Exit ahead for Helmcken Rd.
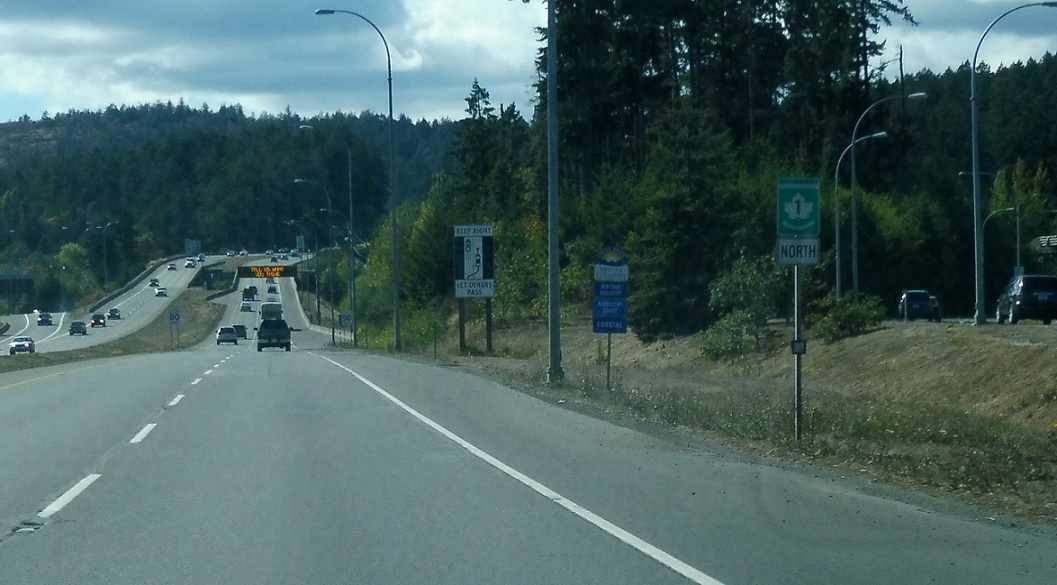
Location: Trans-Canada Hwy and Helmcken Rd, View Royal
Reassurance shield after the View Royal interchange.
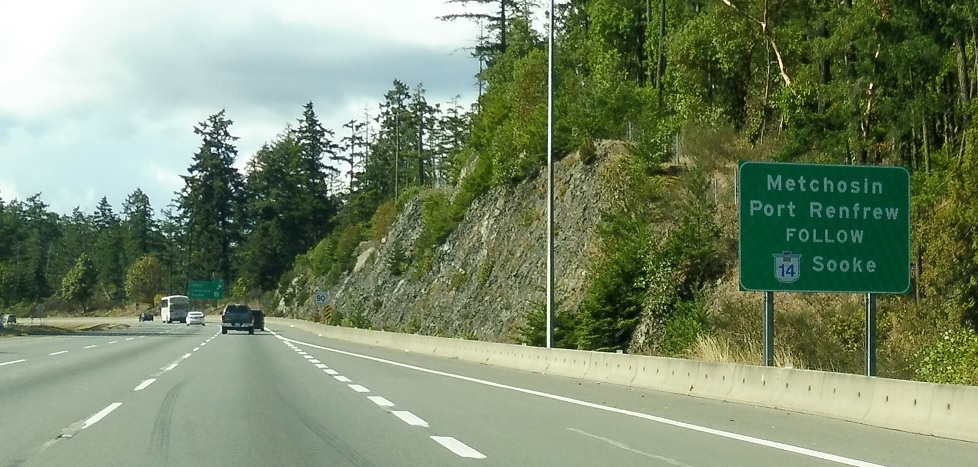
Location: Trans-Canada Hwy and Six Mile Rd, View Royal
As we approach BC 14, we’re advised to follow it to Metchosin and Port Renfrew.
Location: Trans-Canada Hwy and Six Mile Rd, View Royal
Reassurance shield after the Six Mile Rd interchange.
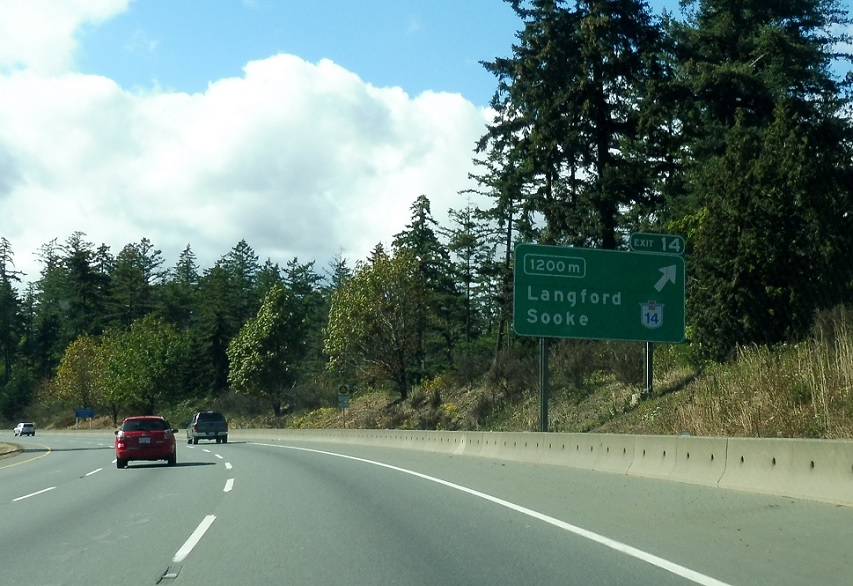
Location: Trans-Canada Hwy and Six Mile Rd, View Royal
1200 meters to BC 14.
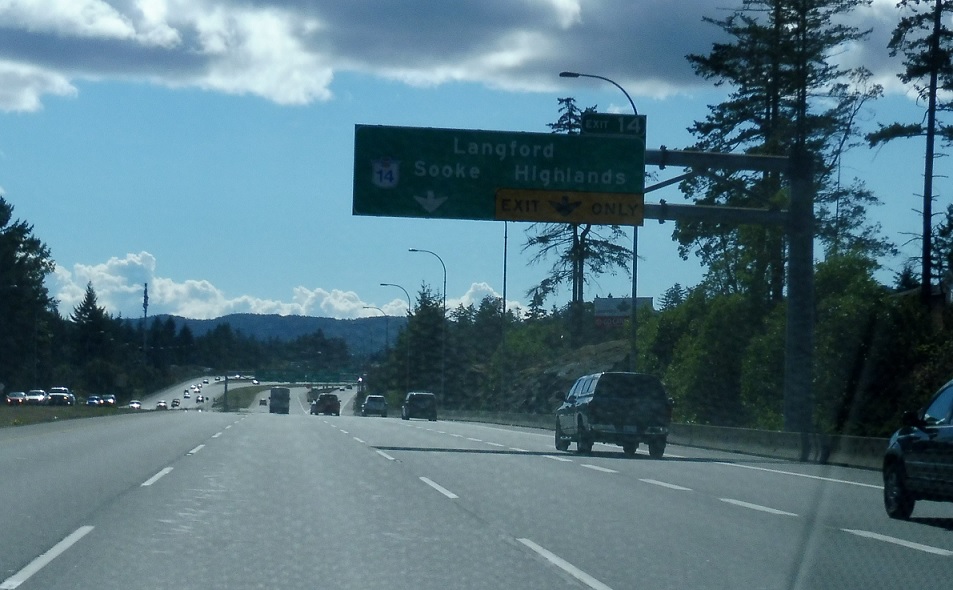
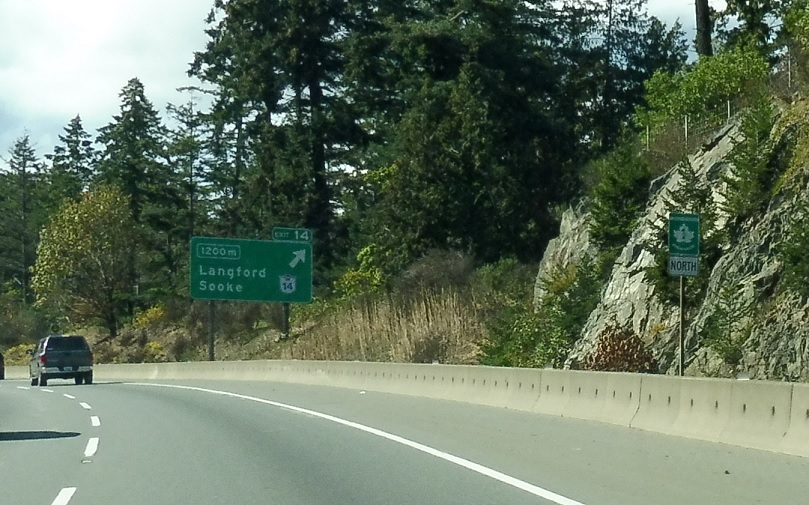
Location: Trans-Canada Hwy and Millstream Rd, Langford
Exit ahead for BC 14.
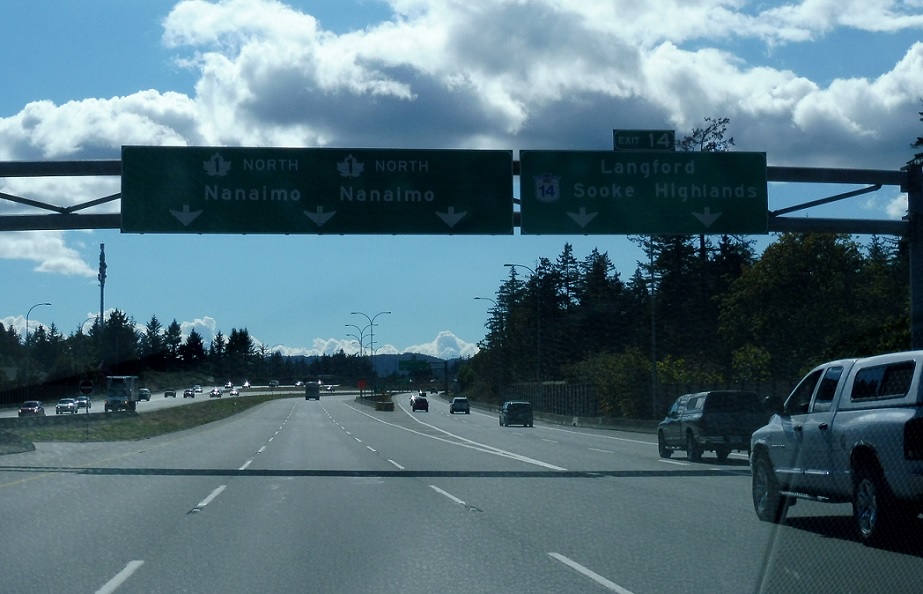
Location: Trans-Canada Hwy and Millstream Rd, Langford
BC 14 is a long spur over to Sooke.


 N to Swartz Bay Ferry Terminal
