
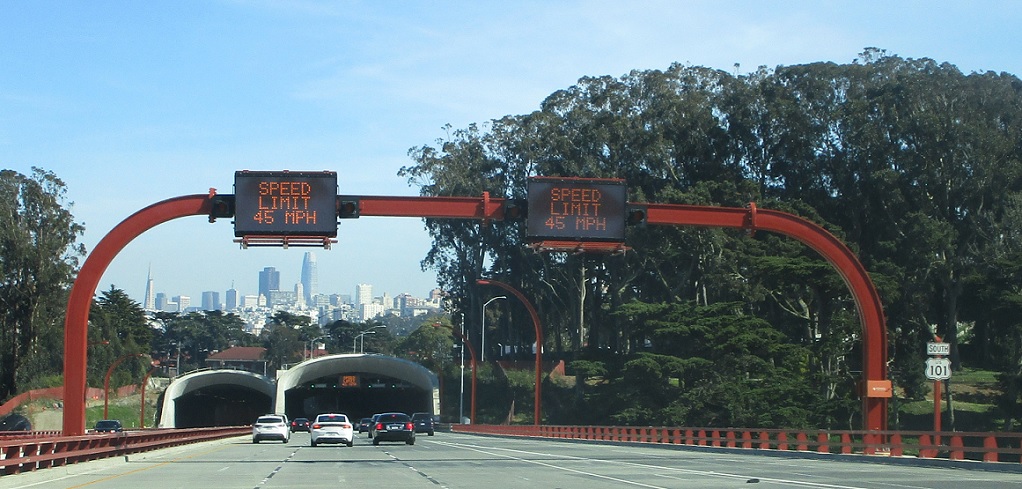
APM: 9
Location: Presidio Pkwy and Veterans Blvd, San Francisco
Reassurance shield after the SR 1 split as we head into a tunnel.
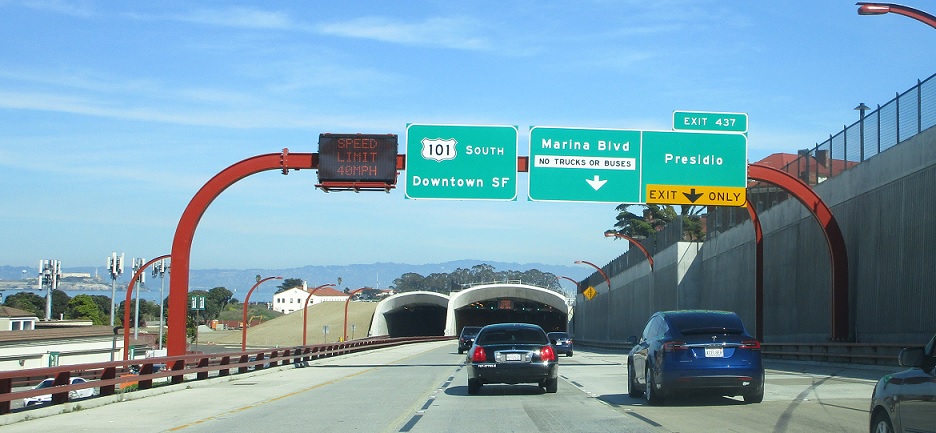
APM: 8
Location: Presidio Pkwy and Marina Blvd, San Francisco
Reassurance shield as we head out of the first tunnel.
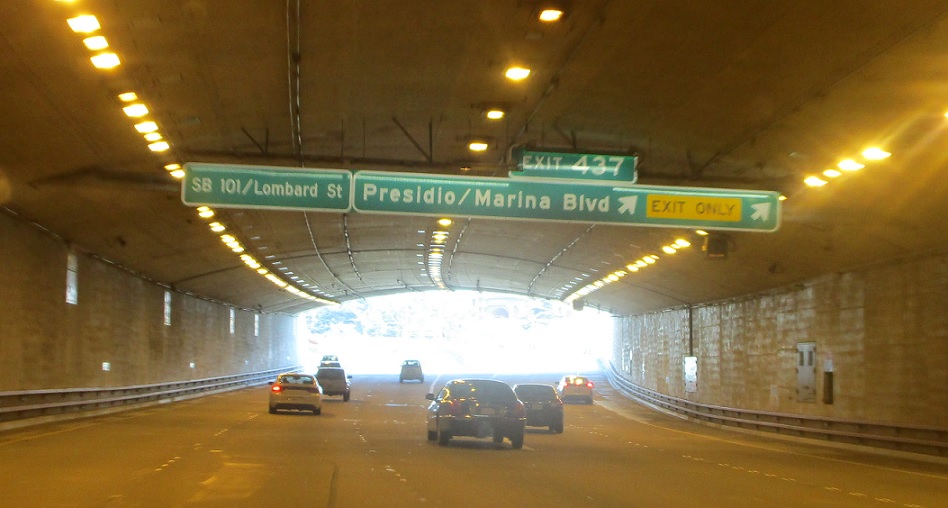
APM: 8
Location: Presidio Pkwy and Marina Blvd, San Francisco
Text reassurance shield in the tunnel, to save space.
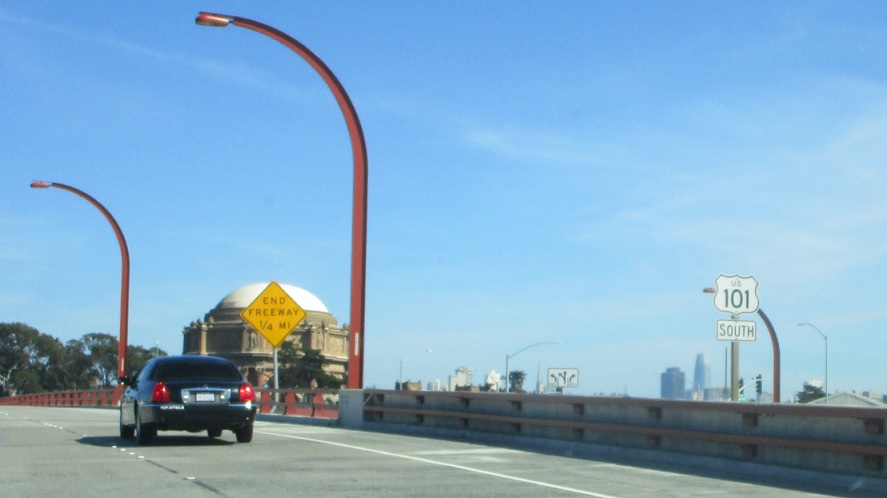
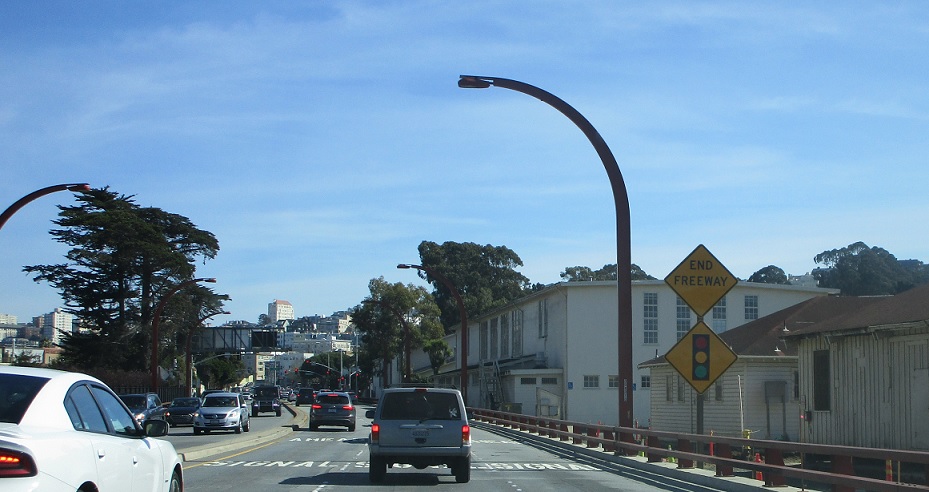
APM: 8
Location: Richardson Ave and Marina Blvd, San Francisco
Reassurance shield after the Marina Blvd exit.
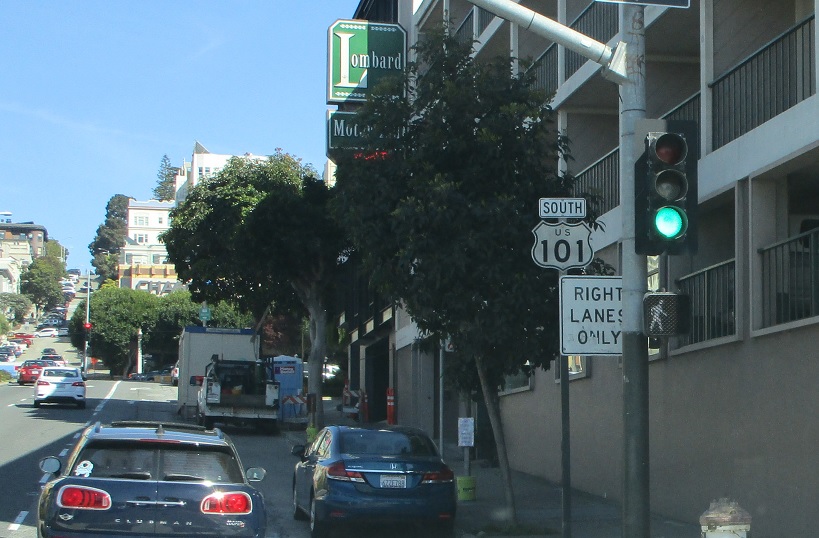
APM: 7
Location: Richardson Ave and Lombard St, San Francisco
Shortly after that, US 101 dumps out onto Lombard St.
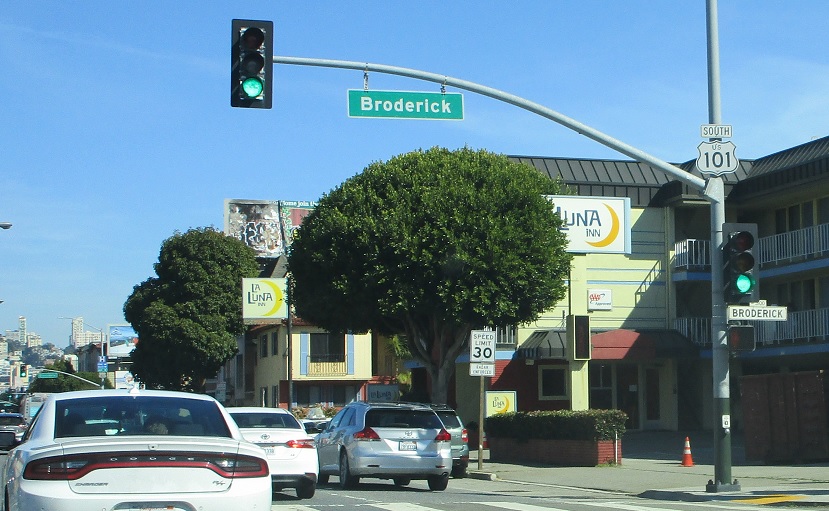
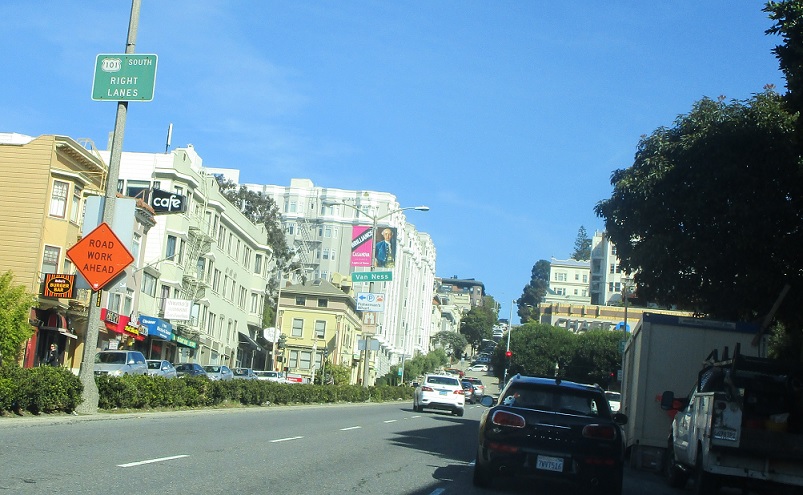
APM: 7
Location: Lombard St and Broderick St, San Francisco
Reassurance shield as the surface alignment of 101 begins.
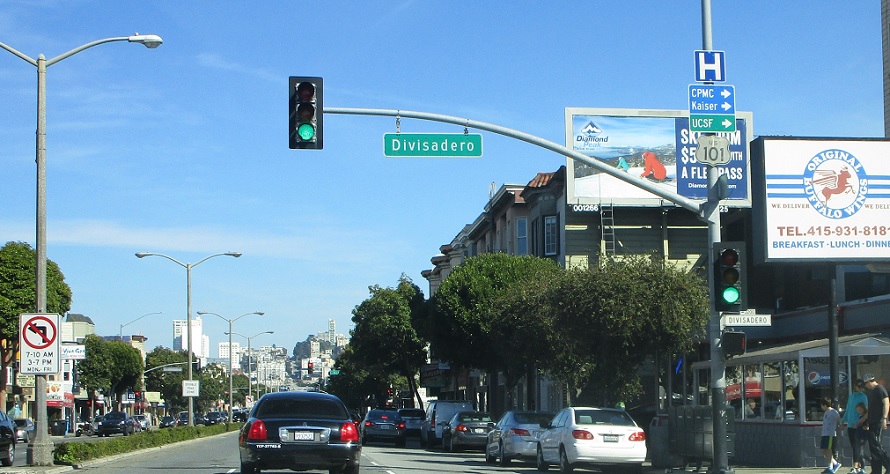
APM: 7
Location: Lombard St and Divisadero St, San Francisco
Reassurance shield one block later.
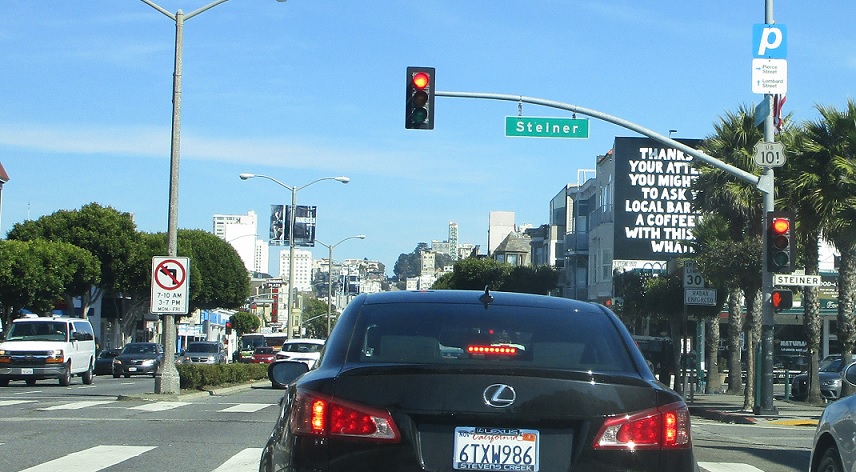
APM: 7
Location: Lombard St and Steiner St, San Francisco
Reassurance shield a few blocks later.
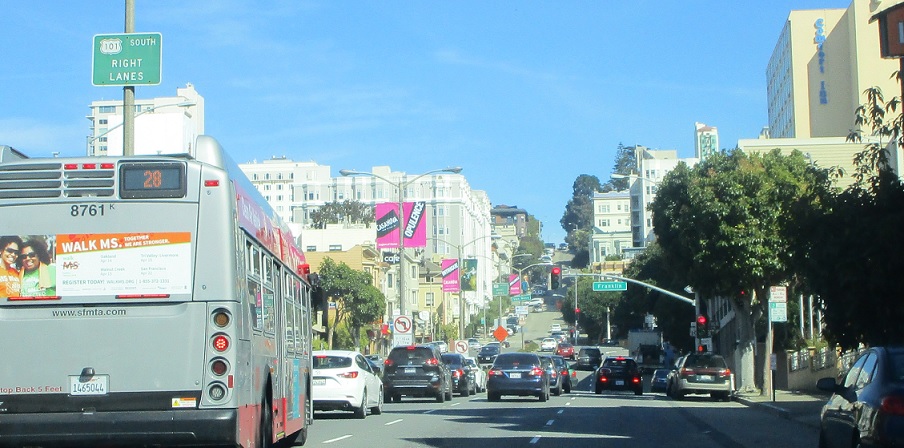
APM: 6
Location: Lombard St and Gough St, San Francisco
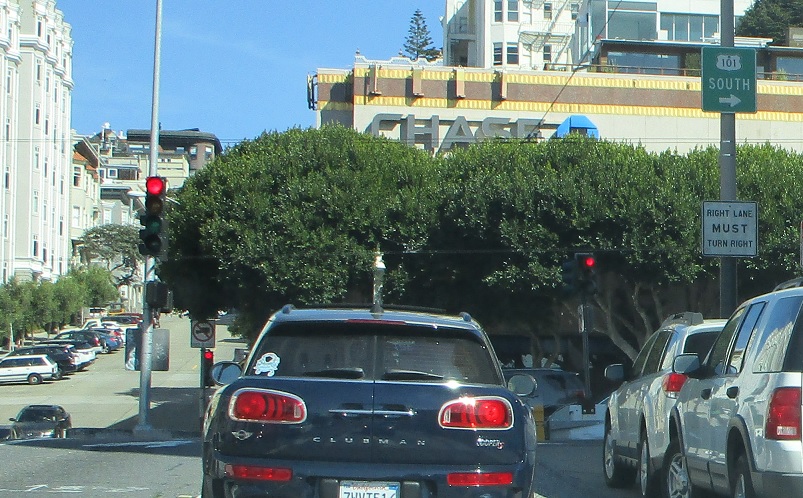
In a couple blocks, 101 turns south onto Van Ness, so it’s a good idea to start moving right.
APM: 6
Location: Lombard St and Franklin St, San Francisco
Keep right for 101 south.
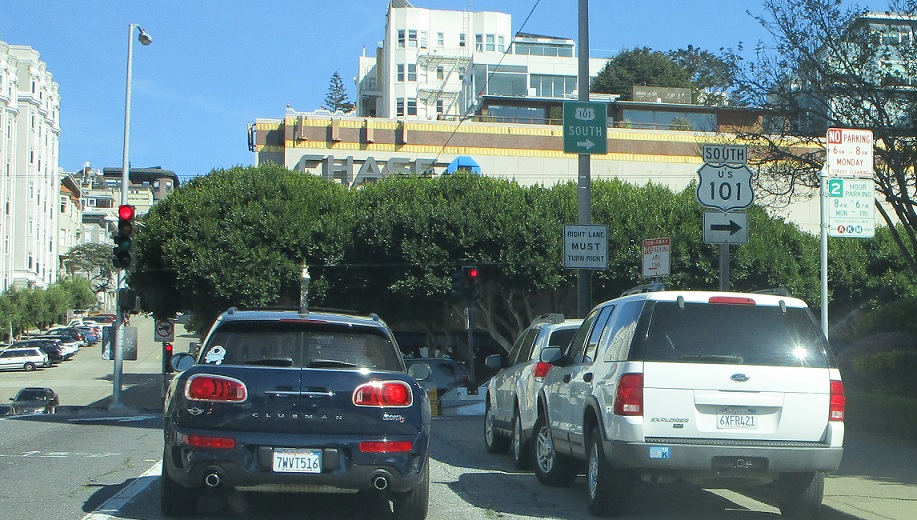
APM: 6
Location: Lombard St and Van Ness Ave, San Francisco
Turn right ahead for 101 south.
APM: 6
Location: Lombard St and Van Ness Ave, San Francisco
Turn right onto Van Ness Avenue.
APM: 6
Location: Lombard St and Van Ness Ave, San Francisco
In case you missed the last sign.

APM: 6
Location: Van Ness Ave and Greenwich St, San Francisco
No reassurance shield after the turn, weirdly.
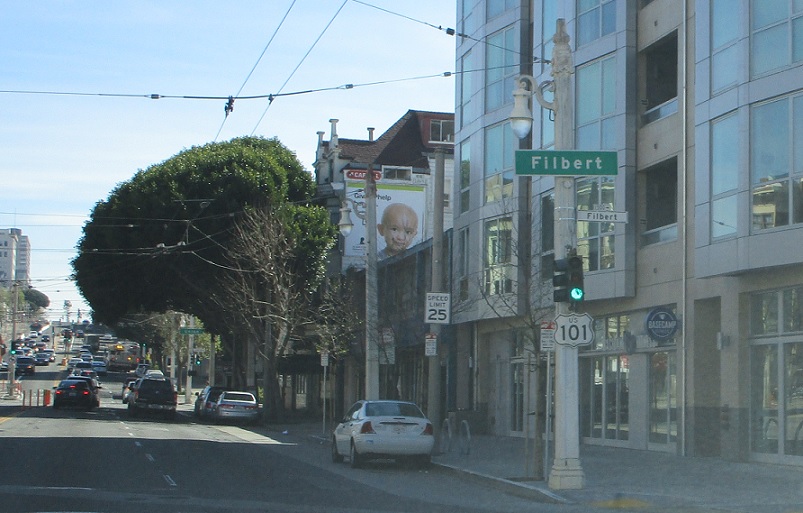
APM: 6
Location: Van Ness Ave and Filbert St, San Francisco
Though there is one a block later.
APM: 6
Location: Van Ness Ave and Union St, San Francisco
Reassurance shield after Union St.
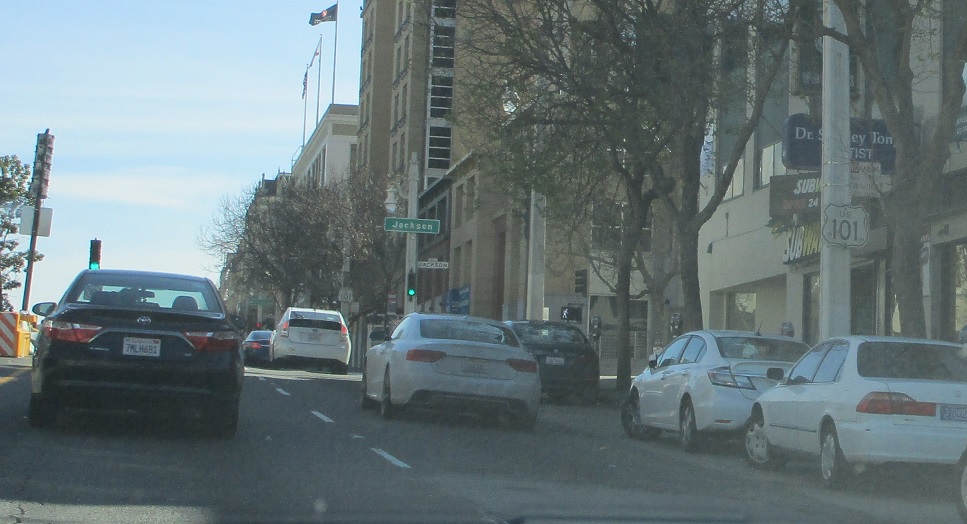
APM: 6
Location: Van Ness Ave and Jackson St, San Francisco
Reassurance shield at Jackson St.
APM: 6
Location: Van Ness Ave and Washington St, San Francisco
Reassurance shield a block later.
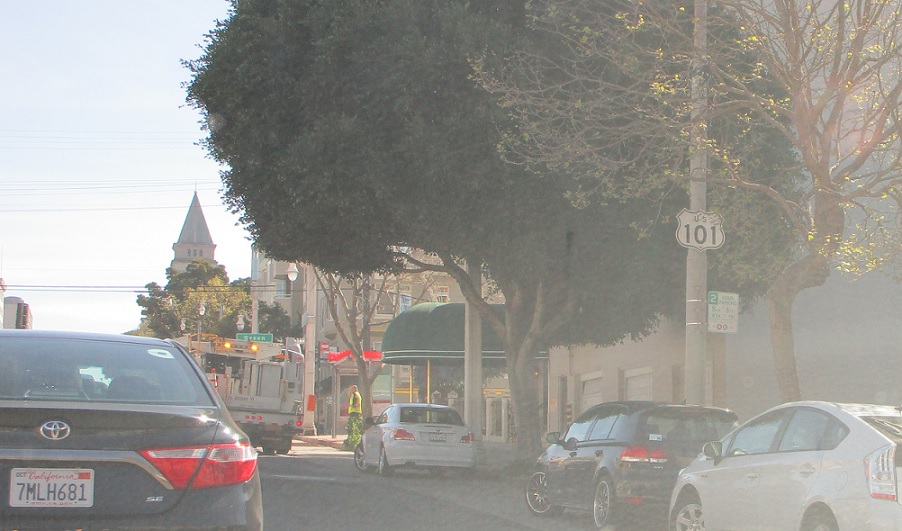
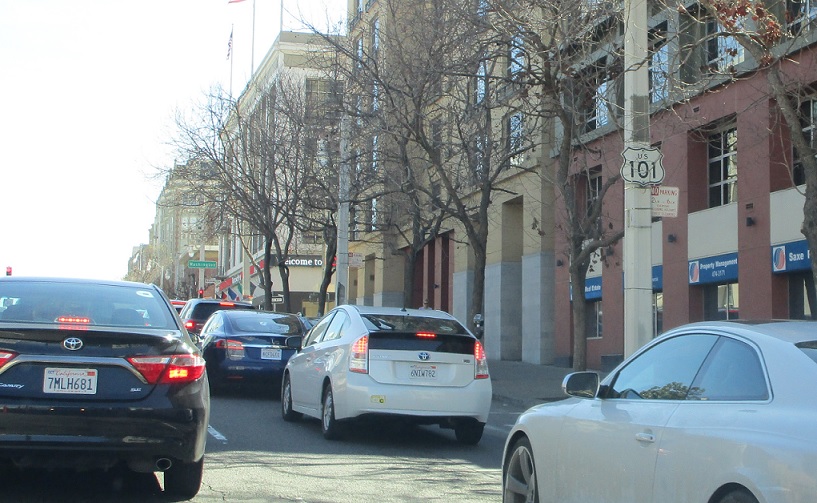
APM: 5
Location: Van Ness Ave and Pine St, San Francisco
Reassurance shield a couple blocks later. Note the “Standard” station in the background – Chevron keeps one Standard station in each state where it own the right to the name “Standard,” and this is sort of the flagship station since Chevron was once known as Standard Oil of California.
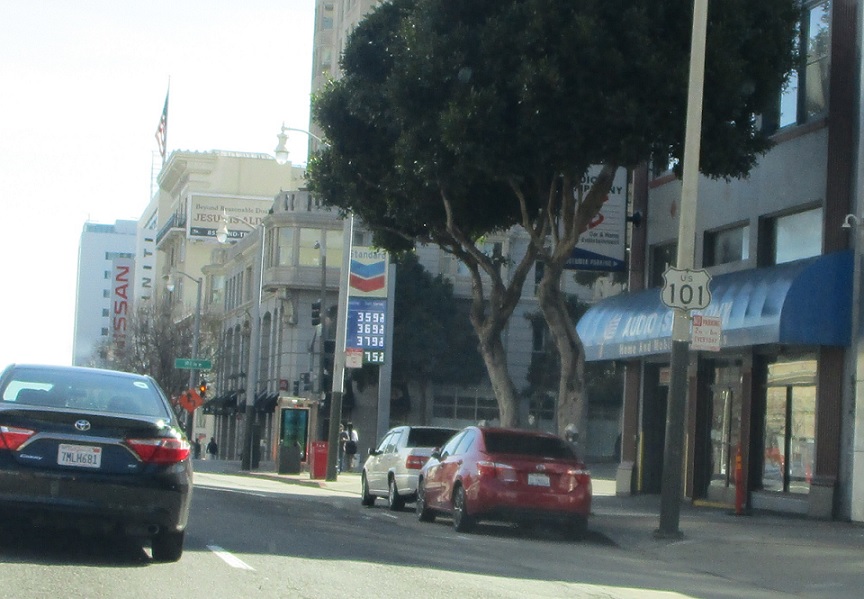
APM: 5
Location: Van Ness Ave and O’Farrell St, San Francisco
Reassurance shield a couple blocks later.
APM: 4
Location: Van Ness Ave and Oak St, San Francisco
At Oak Street, we’re reminded to stay straight to follow 101 to I-80.
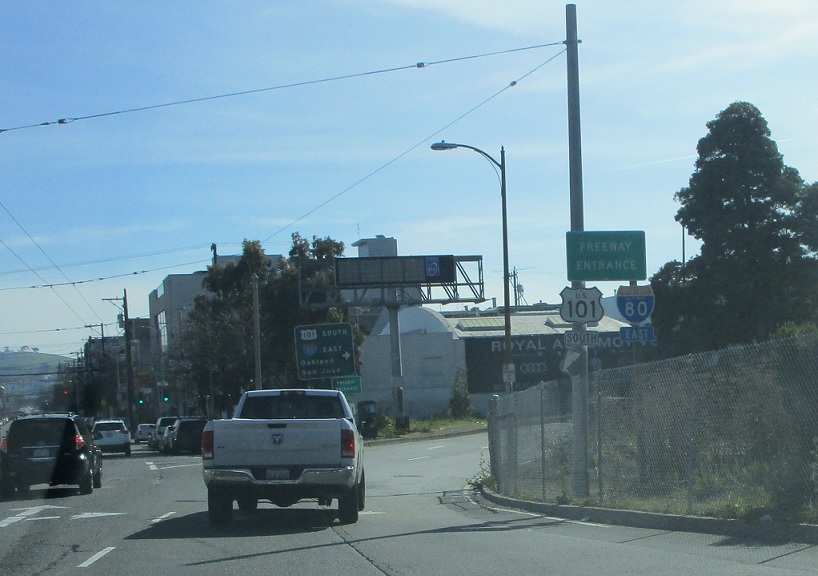
APM: 4
Location: Van Ness Ave and Mission St, San Francisco
A couple blocks later, we’ll jump on a freeway which quickly connects to I-80.
APM: 4
Location: Mission St and Van Ness Ave, San Francisco
Follow 101 south to I-80.

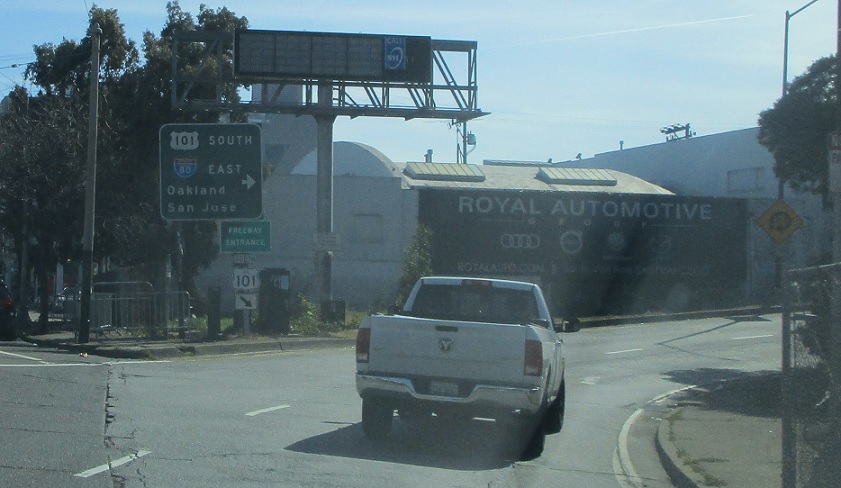
APM: M5
Location: Central Fwy and Mission St, San Francisco
Reassurance shield as we jump back on the freeway. 101 follows a freeway all the way through the Bay Area and beyond from this point forward.
APM: M4
Location: Central Fwy and Bayshore Fwy, San Francisco
As we jump on the freeway, we’ll quickly approach I-80.
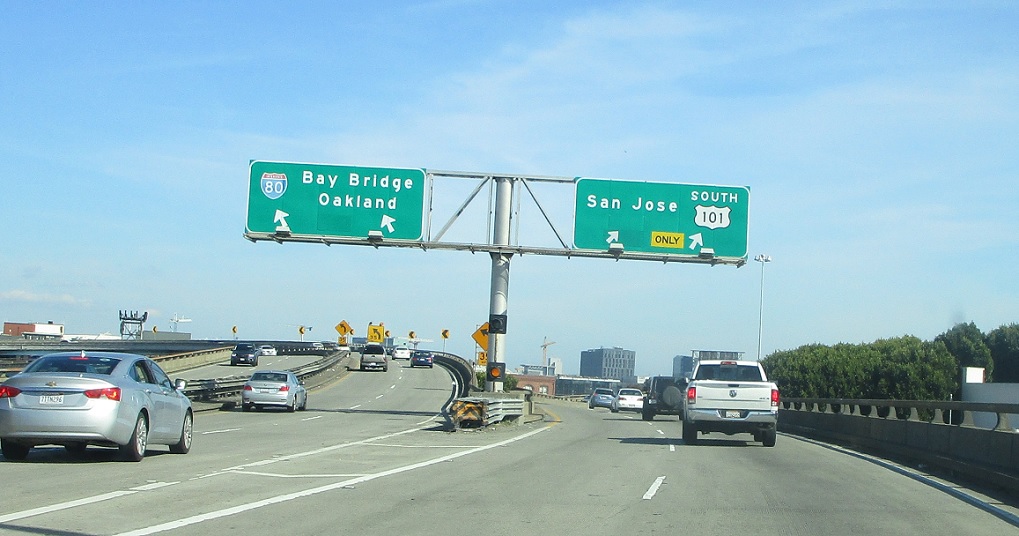
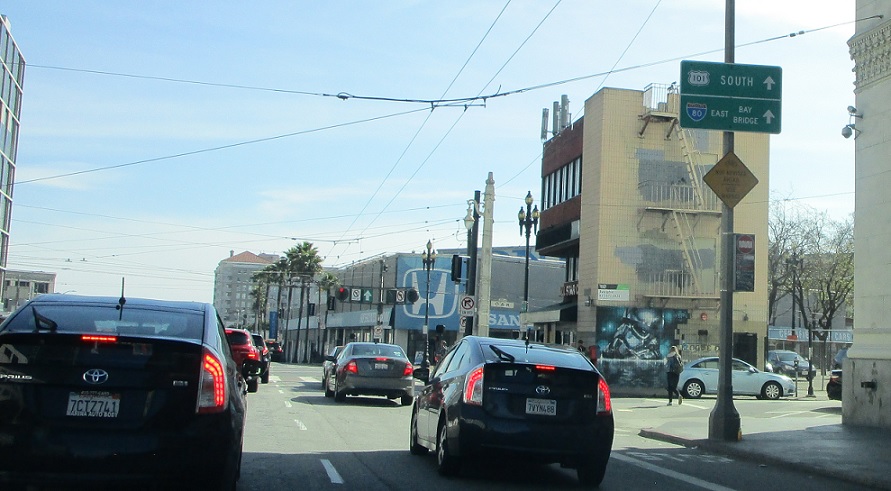
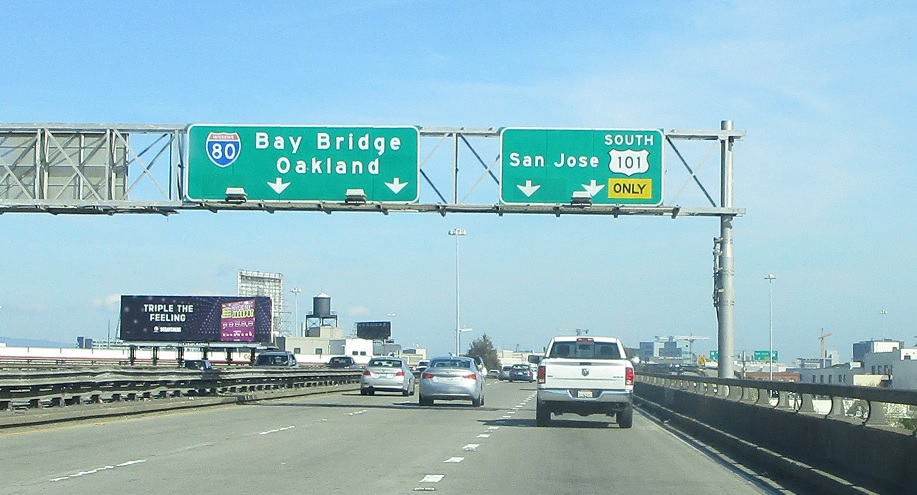
APM: M4
Location: Central Fwy and Bayshore Fwy, San Francisco
Exit for I-80 east, which begins here and heads all the way to New York City. Keep right for US 101 south.


